
Mark Wahlberg Says He Could Have Prevented Ganondorf’s Return

HYRULE — Actor Mark Wahlberg is facing criticism after saying that he could have prevented the revival of Demon King Ganondorf if he had been present beneath Hyrule Castle during a recent exploration.

“If I was in that cave with the princess, it wouldn’t have went down like it did,” said Wahlberg, who added that he used to have a Triforce tattoo before having it removed. “There would have been a lot of blood in that mysterious cavern and then me saying, ‘OK, we’re going to learn more about the Zonai, don’t worry.’”

Captain Hoz, the authority in charge of monster control in post-Upheaval Hyrule, characterized Wahlberg’s statement as more than simply insensitive.

“Of course his words are hurtful to everyone who has been affected by these tragic events,” said Hoz, who gave the statement as he was marching slowly toward a Bokoblin encampment, glancing over his shoulder expectantly. “But his words were thoughtless in more ways than one. How exactly did he plan on fighting Ganondorf? He wields neither the Master Sword nor the Light Arrows that allow a warrior to counter Ganon’s evil. Unless he’s hiding a previously unknown piece of the Triforce up his Wahlburger, I think he would be better off sticking to being a pretend hero in the pictures.”

Despite the near universal criticism of the actor’s comments, Boston resident Sean Fitzpatrick defended Wahlberg.

“I think Marky Mark had a good point,” said Fitzpatrick. “They’re gonna send some blond kid down these secret tunnels to protect a princess? Nah, you gotta go with a Boston guy. We get, like, a bonus or whatever when we’re underground ‘cause of the Big Dig. Plus, that Ganondorf guy looks pretty ethnic, which activates Mark’s berserker mode. It’s Walhlberg in one, no chance.”

At press time, Wahlberg was reportedly seeking a pardon for a Cucco harassment charge springing from an unrelated incident in 1998.
The Legend of Zelda: TOTK Mayaumekis Shrine Guide & Solution

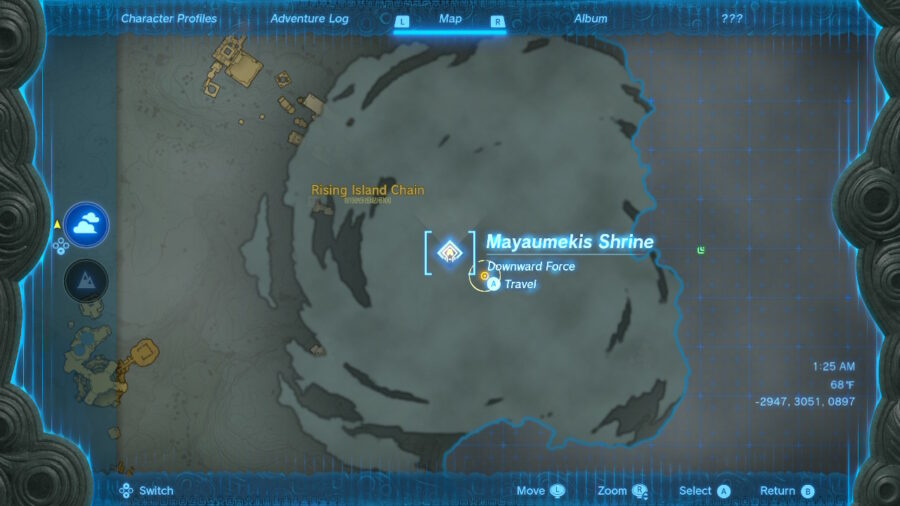
Mayaumekis Shrine is a skyward shrine The Legend of Zelda: Tears of the Kingdom, and you can solve it easily with our guide! Found on the Rising Island Chain, you will most likely find this shrine when completing the main quest “Tulin of Rito Village.” While you can activate this shrine and come back after you finish the quest, Mayaumekis Shrine can be a quick detour with our guide. Here’s what you need to know to solve “Downward Force,” the puzzle of Mayaumekis Shrine.

How to Complete Mayaumekis Shrine in Zelda: Tears of the Kingdom

Where to find Mayaumekis Shrine in The Legend of Zelda: TOTK.

If you aren’t there yet, you can find Mayaumekis Shrine at the coordinates (-2947, 3051, 0897) in the sky. You’ll come across it pretty naturally as you progress through the main storyline of “Tulin of Rito Village.”

How to get in the entrance of Mayaumekis Shrine in Zelda TOTK.

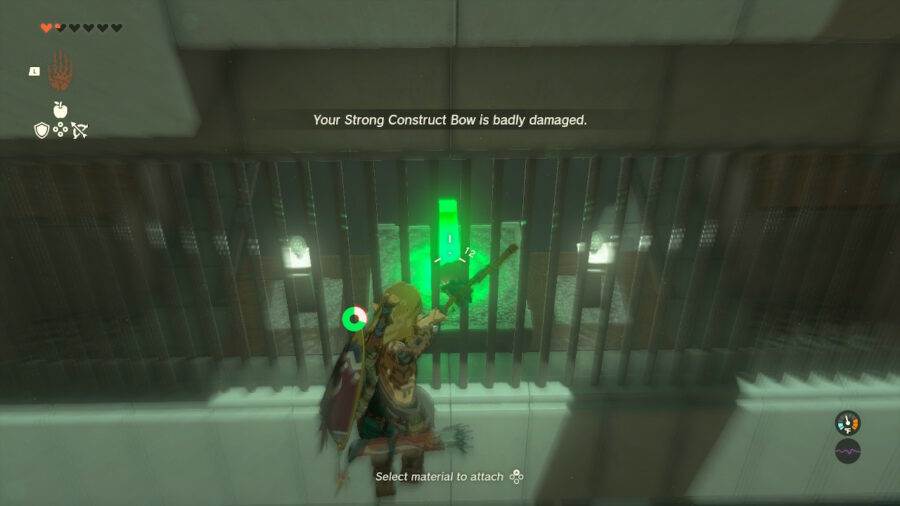
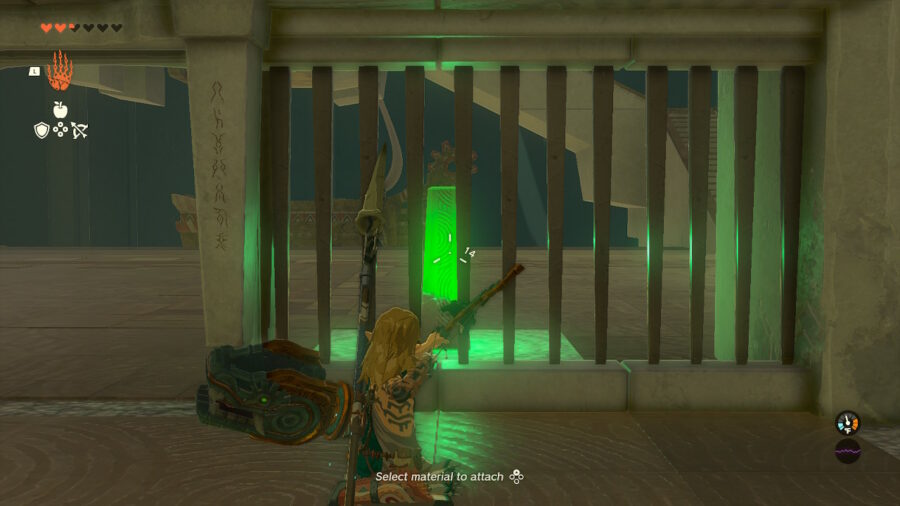
When you walk into the shrine, you’ll be greeted with a closed gate. To the right of this gate, you can see a crystal through the bars. Shoot an arrow through a gap in the bars to activate it, and open the gate.

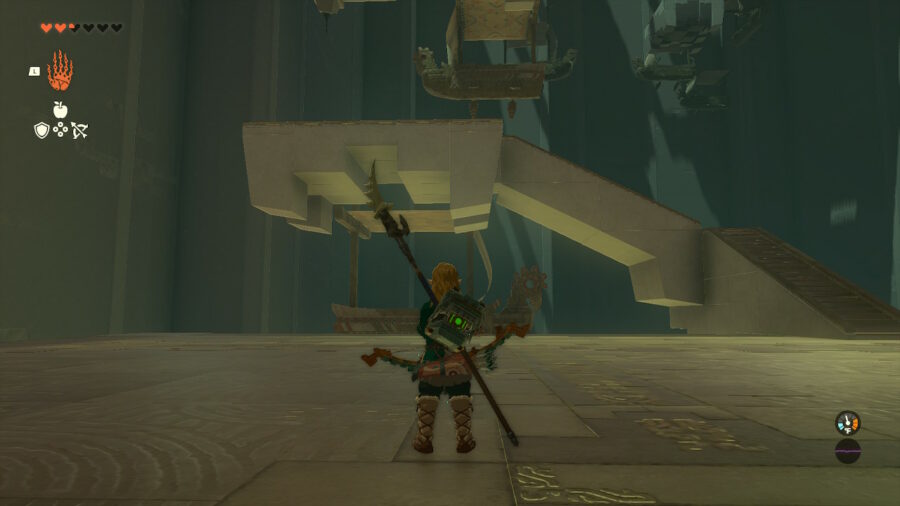
In the next room, you’ll see many ships, all resembling the one that Tulin mentions is from the Song of the Stormwind Ark. Climb the stairs straight in front of you, and dispose of the Construct in front of you with your weapon of choice. Then, jump on the ship directly in front of you to shoot up to the next level of the shrine.

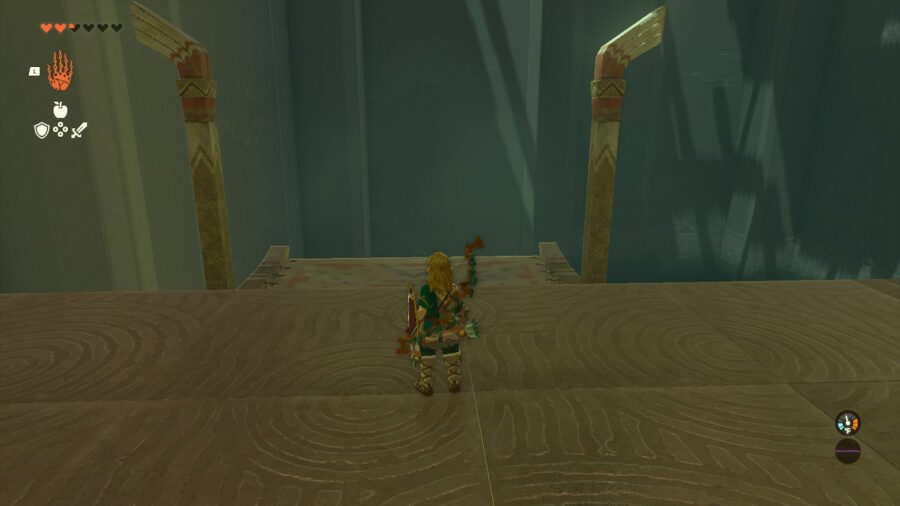
Jump on the other ship that’s now in front of you, and glide over to the ship sailing in a circle, taking care to make a soft landing. This ship will give you the extra boost you need to make it to the next platform.

How to solve Mayaumekis Shrine in TOTK.

From this platform, jump on the ship directly in front of you. As you shoot up, look to your right to find another crystal behind a grate, just like the one from the very beginning of the shrine. Shoot this crystal to open a grate that formerly blocked off your ascent to the shrine’s reward. Use the ship to the right of the one you just jumped off of to rise up and claim your reward!

How to Get the Chest in the Shrine

How to get to the chest in Mayaumekis Shrine.

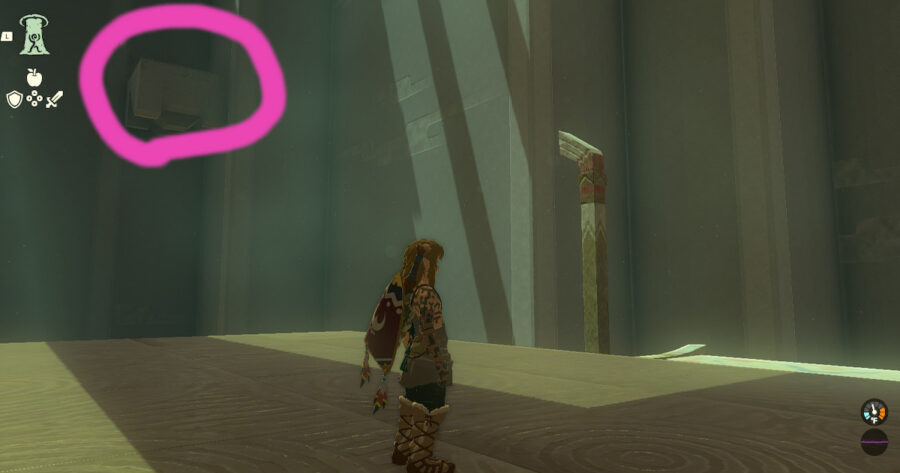
To get this chest, you’ll want to use the same ship you jumped off of to activate the crystal, but glide to the left instead of the right. It’s a tough glide, but if you get it right, Link will land on the edge of the chest’s platform and climb up to claim your treasure: a bundle of 10 arrows.

That’s it for our Mayaumekis Shrine guide! Check out our guide on TOTK‘s Gatakis Shrine to complete a shrine near Rito Village once you return to the surface.

The Legend of Zelda: TOTK Gatakis Shrine Guide: How to Solve

Gatakis Shrine is a shrine in the northwest region of the surface in The Legend of Zelda: Tears of the Kingdom, and you can solve it easily with our guide! This shrine is quite light on usage of Purah Pad powers, instead making you rely on your skills with your paraglider. Here’s what you need to know to solve “Ride the Winds,” the puzzle of Gatakis Shrine.

How to Complete Gatakis Shrine in Zelda: Tears of the Kingdom

Where to find Gatakis shrine in Zelda: TOTK.

To get to the shrine, head to the coordinates (-3650, 1805, 0168). This is right at Rito Village, where you’ll go to investigate one of the four regional phenomena Purah tells you about. This makes Gatakis Shrine a perfect detour for either before or after this mission as you go through the main quest in TOTK!

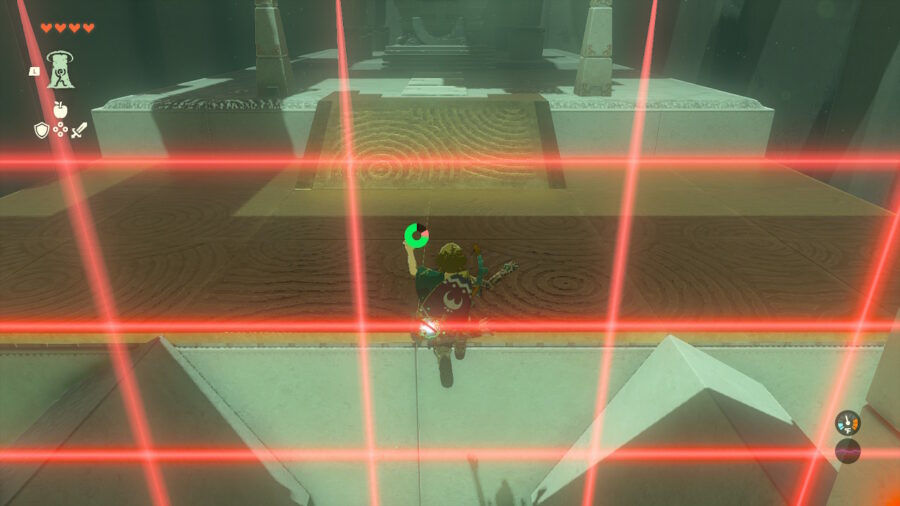
From the initial perch when you walk in, simply glide down to the lower area. Right away, you’ll likely notice the wind blowing. No real tricks needed for this first section of lasers. Jump and pop open your paraglider, and you’ll be able to breeze through this section by steering between the lasers.

Next, you’ll come across a pit to jump into. Make sure you make it through the gap of the rotating platform and use a diving attack by pressing Y to break through the fragile shell, but be ready to deploy your paraglider! Open your paraglider up to ride the upwards draft and keep floating.

You should see a grated wall like the one pictured above with the small gap near the bottom. Use strategic opening and closing (press B) of your paraglider to make it through this gap. Once you’re through, open your paraglider and ride to the top to claim your Light of Blessing.

How to Get the Chest in the Shrine

Where to find the chest in Gatakis Shrine in Zelda: Tears of the Kingdom.

The chest in Gatakis Shrine is fairly simple to obtain. After you jump in the pit, look around and you should see it sitting on a platform. It’s guarded by a Construct, but you can use a diving attack to make quick work of it and get to your chest. This chest contains a Strong Construct Bow, with a respectable attack power of 11.

That’s it for our Gatakis Shrine guide! While you’re in the area, check out our guide on TOTK‘s Sahirow Shrine to complete another shrine in the Northwest area of Hyrule.

The Legend of Zelda: TOTK Sahirow Shrine Guide: How to Solve

Sahirow Shrine is a shrine in the northwest region of the surface in The Legend of Zelda: Tears of the Kingdom, and you can solve it easily with our guide! This shrine is quite light on usage of Purah Pad powers, and more heavy on your reaction time and platforming skill. Here’s what you need to know to solve “Aid From Above,” the puzzle of Sahirow Shrine.

How to Complete Sahirow Shrine in Zelda: Tears of the Kingdom

Where to find Sahirow Shrine in The Legend of Zelda: Tears of the Kingdom.

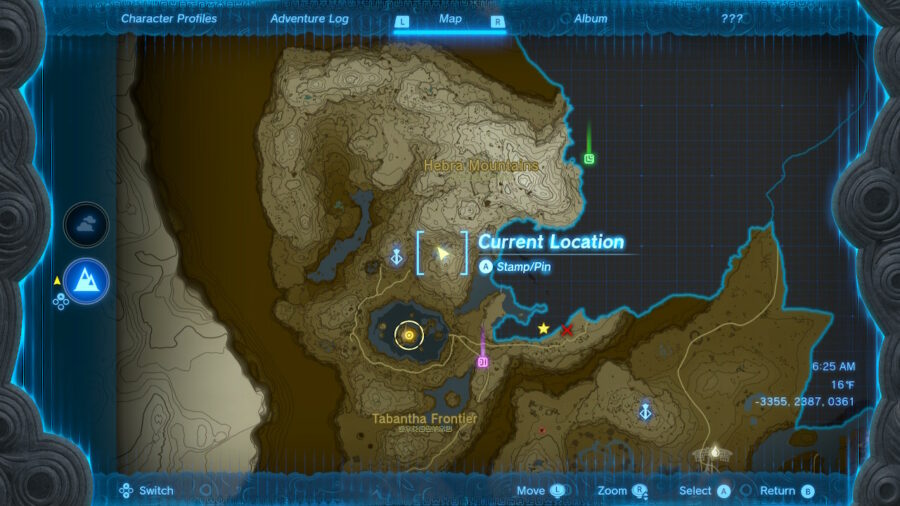
If you haven’t located it yet, you can find the shrine at the coordinates (-3354, 2387, 0361). This is pretty far in the northwest, but you can get to it quite easily when you head up this way to investigate the regional phenomena that Purah asks you to investigate.

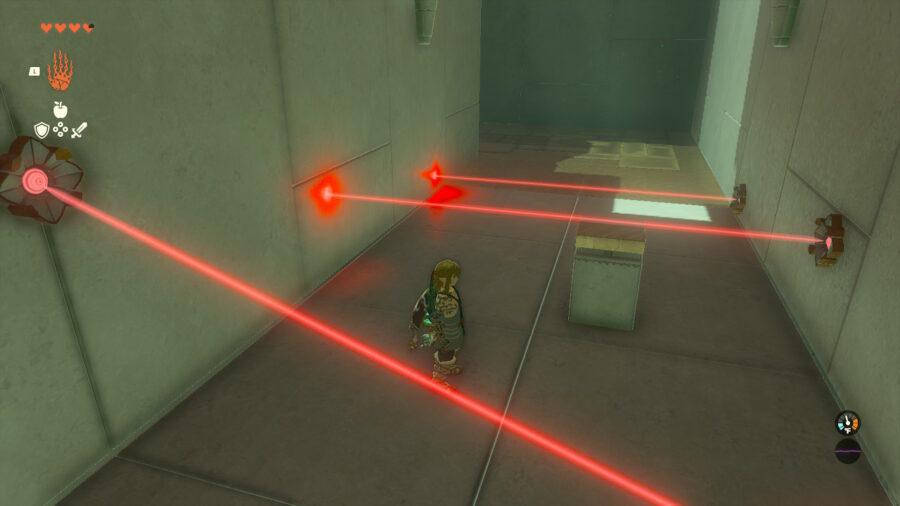
This first section is pretty simple, and won’t even require any specific abilities. Jump over the first laser. Then, move toward the next section of lasers. Jump the first one, press the left stick to crouch under the next one, then walk under where the lasers are high for the next few. For the final set of three lasers, climb the mini set of stairs to your right, then jump across. Use your Ascend ability to get up to the moving platform above you to proceed to the next section of the shrine.

How to Get the Chest in the Shrine

How to get the chest in Sahirow Shrine in Zelda TOTK.

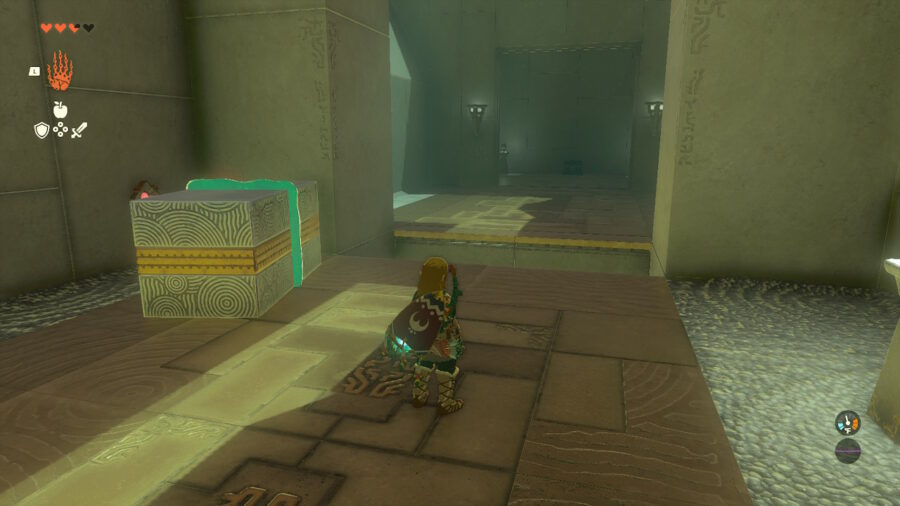
If you want to get the chest in Sahirow Shrine, head to the right at the fork in the road first and grab one of the boxes using Ultrahand. Block the laser on your right with this box, and you’ll see the gate to your right open. Go get this chest to get rewarded with a Spicy Elixir, which provides cold resistance. A perfect reward for your time in the cold mountains!

How to get past the wall of lasers in Sahirow Shrine.

Next, to finish the shrine, go to the other path to your left. You’ll no longer need the box! In the first room, jump over the laser that approaches. In the second, crouch under it. In the final room, you’ll be met with a wall of lasers. To get past this, follow the wall as it moves across the path. Then, at the last possible moment, jump through the lasers to the platform, where your Light of Blessing awaits you!

That’s it for our Sahirow Shrine guide! Check out our guide on TOTK‘s Mayachin Shrine to complete an early shrine in Hyrule Field.

Legend of Zelda: Tears of the Kingdom Guide: How to Use Gliders

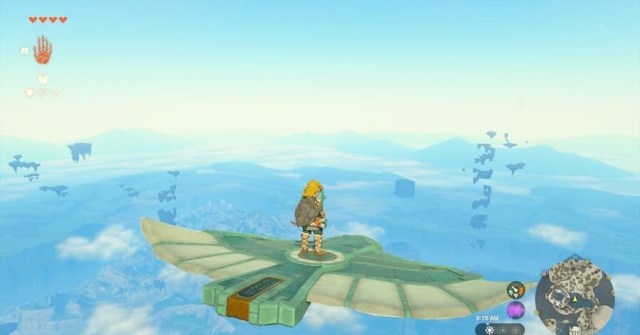
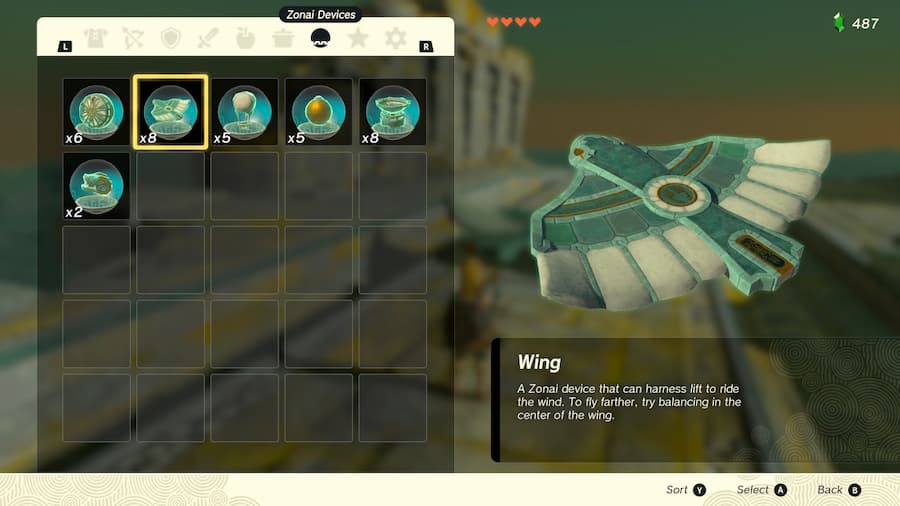
One of the newest addition to Link’s arsenal of devices, doodads and doohickeys in Legend of Zelda: Tears of the Kingdom are gliders, devices specially created by the Zonai. These sky furries created all manner of devices, ones that Link can now use to craft all sorts of contraptions. These flat large bird-shaped devices can carry Link great distances with very little needed. While you can add a myriad of extra fans and flamethrowers to the Wings, they essentially serve as an inanimate Buzz Lightyear. You’re not gonna be falling, you’ll be gliding with style. So let’s hop on and figure out how to use gliders in Tears of the Kingdom.

 Where to Find Glider Launchers in Zelda: Tears of the Kingdom

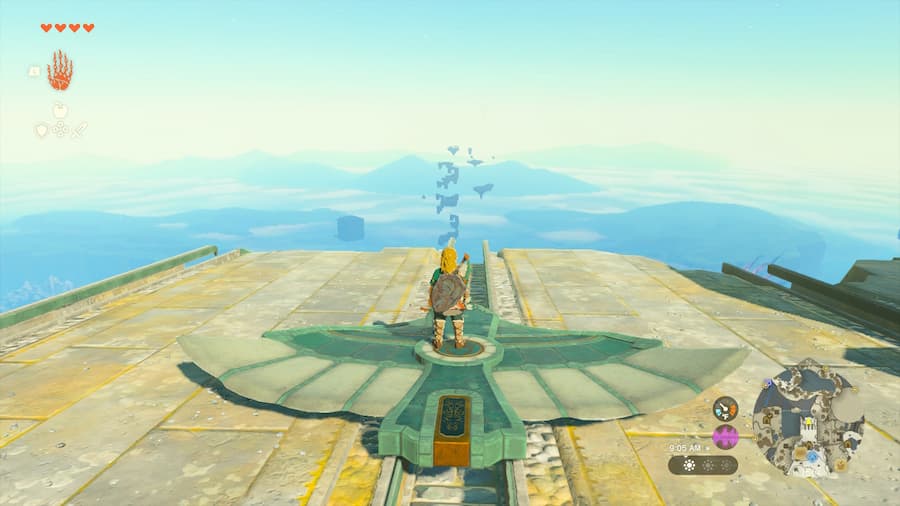
Item Description for the Gliders(Wings)Players will encounter these gliders early on in the game, specifically on the tutorial island. You can obtain these gliders by trading in materials to a Zonai Capsule Machine. However, once you have one and try placing it on the ground, you’ll notice that it doesn’t really move all that much. It’s also not recommended for you to try and place it halfway off a platform and try to jump on it mid-fall (trust us, it won’t end well). There are certain areas throughout the sky islands that act as launching platforms for these gliders. And one of them is conveniently on the same island that the tutorial took place on. Located near the Nachoyah Shrine on Great Sky Island, you’ll want to head north out through a hole in the Mining Cave.
How to Use Gliders in Legend of Zelda: TOTK

The Glider on launch platform, getting ready to fly.At the end of it, you’ll see a drop off over the side, along with a few gliders sitting around. There will also be these three narrow trenches leading towards the drop-off, and these will be our ticket to soaring through the skies. With your Ultrahand ability, grab a glider and place it on one of these trench sections of the ground and get ready to hop on. These platforms have a different material on their trench sections, allowing the gliders to slide off.
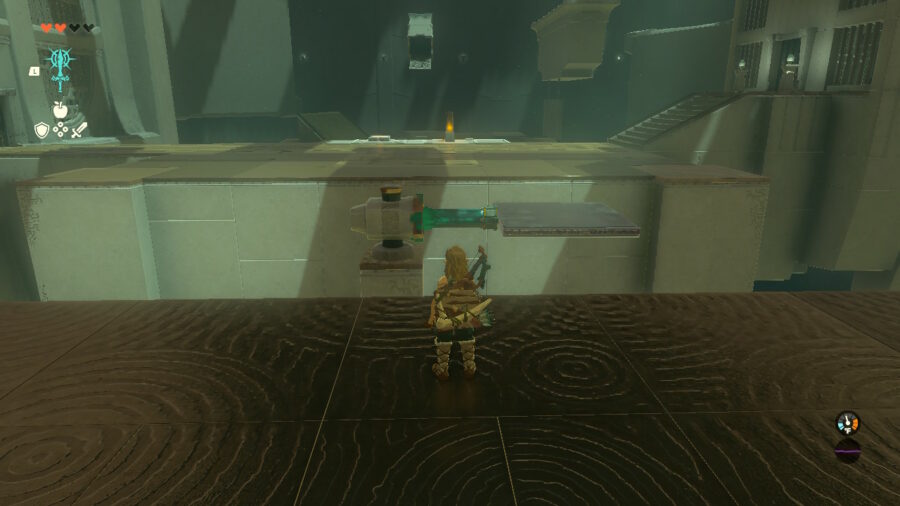
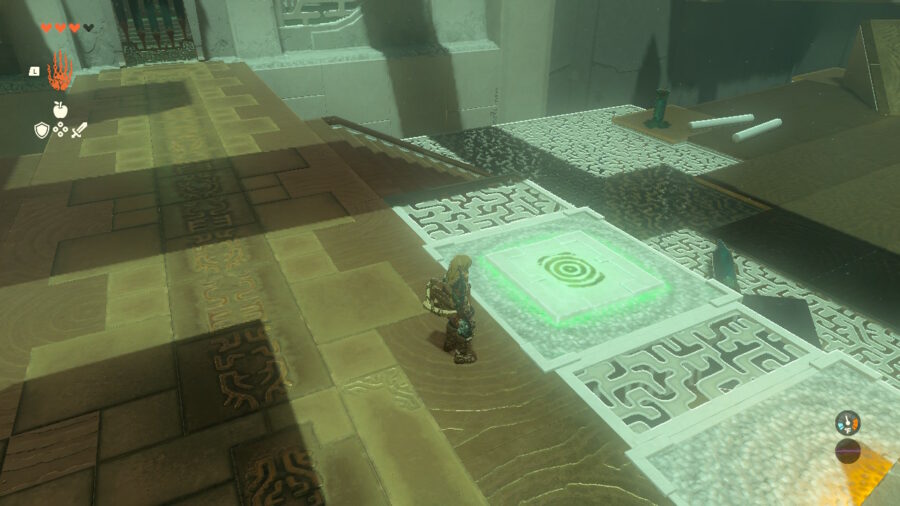
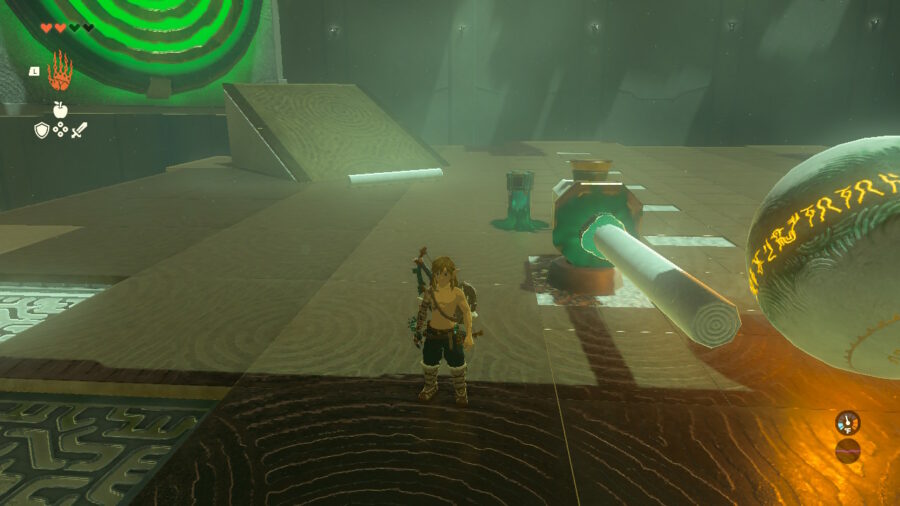
There will be an image of feet in the center of the glider, showing you the location to stand so it can fly straight. As you’re gliding through the skies, moving around on the glider can change the current flight pattern. Now while it would be fantastic to ride this device all the way down to the ground, the developers thought this was too cool to do. After a certain amount of time, the glider will start blinking green, indicating that the device will disappear in a few moments. Something to keep in mind before you find yourself flattened like a pancake.

You should have no problem finding other launch platforms throughout your time searching the sky islands. Check out our other Tears of the Kingdom guides if you’re looking to figure out how to unfuse weapons, or clear some shrines, like Mayachin Shrine.

The Legend of Zelda: TOTK Mayachin Shrine Guide: How to Solve

Mayachin Shrine is one of the first shrines you might see in the early area Hyrule Field in The Legend of Zelda: Tears of the Kingdom, and you can solve it easily with our guide! There are some new mechanisms introduced in this shrine that can be a bit intimidating. However, this shrine is much easier than it may seem at first. Here’s what you need to know to solve “A Fixed Device,” the puzzle of Mayachin Shrine.

How to Complete Mayachin Shrine in Zelda: Tears of the Kingdom

If you aren’t there yet, you can find this shrine at the coordinates (-0705, -0870, 0031). Once you’re in, the first thing greeting you is some pretty simple platforming. Just jump on the platform across the gaps, no tricks needed.

Once you’re across this gap, you’ll now see the challenge proper. Balls will continually spawn and roll down the slope in front of you. To see what the real challenge is, step on the button in front of you, and you’ll see a large red target appear. Naturally, the goal is to get the ball to hit that target.

Using this bat will be key to solve the Mayachin Shrine puzzle in Zelda TOTK.

The main bit of prep work you need to do for Mayachin Shrine’s puzzle is create a bat mechanism. Use Ultrahand to fuse a stake with the wooden stick. Then, move that fusion to the sedentary mechanism on the ground. Now, go back up by the button and hit the crystal on the other side of it. This will swing the mechanism, allowing you to hit the ball. Time the swing just right, and you’ll be able to get the ball up the ramp and into the target! If you just want to complete the main part of Mayachin Shrine, your guide experience ends here! However, read on to get the shrine’s chest!

How to Get the Chest in the Shrine

How to get the chest in Mayachin Shrine.

You should now see a similar target on the other side of the puzzle area. First, use a stake to attach the dangling wall out of your way. It doesn’t need to be perfectly aligned, just out of the way. Next, use Ultrahand to bring the platform from the beginning of the shrine to the puzzle area. Use this as a makeshift ramp for the ball. Adjust your swing timing to hit the ball the other way, and you should be able to hit the target easily! Enjoy your reward of an Energizing Elixir.

That’s it for our Mayachin Shrine guide! Check out our guide on TOTK‘s Susuyai Shrine to complete another Hyrule Field shrine.

Legend of Zelda: Tears of the Kingdom Sahasra Slope Tower Guide

In The Legend of Zelda: Tears of the Kingdom, Skyview Towers serve to open up the map by clearing the fog both on the Surface and in the Sky. There are fifteen in total. In addition to being a useful fast travel point, it can also launch Link and his Paraglider to the greatest heights possible, aiding further exploration and map traversal. However, some of the Skyview Towers are broken and in need of repair. The solutions are not always straightforward, and this Zelda: TOTK guide contends with one of the more obtuse Skyview Tower repairs: Sahasra Slope Tower.

Where Is The Sahasra Slope Skyview Tower Located?

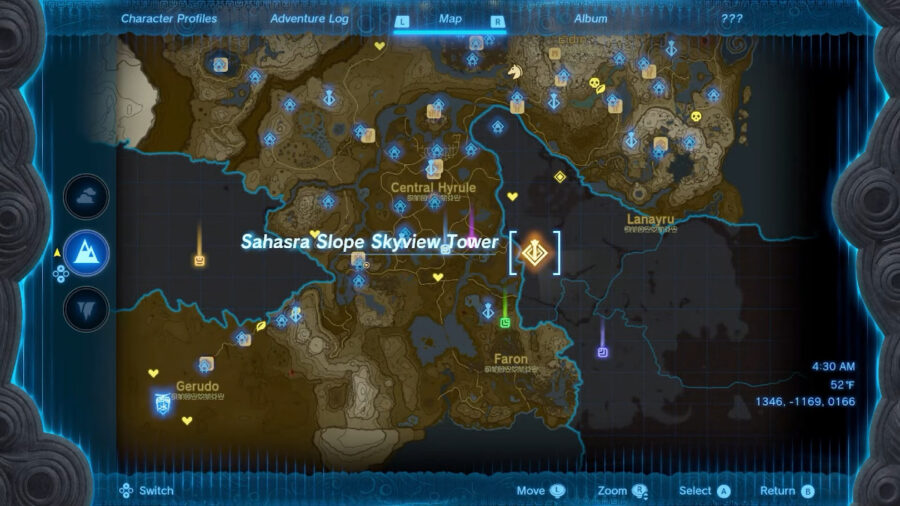
You can find the Sahasra Slope Skyview Tower in West Necluda, south east of Central Hyrule, at the following coordinates: (1346, -1169, 0166).

How To Repair The Sahasra Slope Skyview Tower

How to repair Sahasra Tower in Tears of the Kingdom.

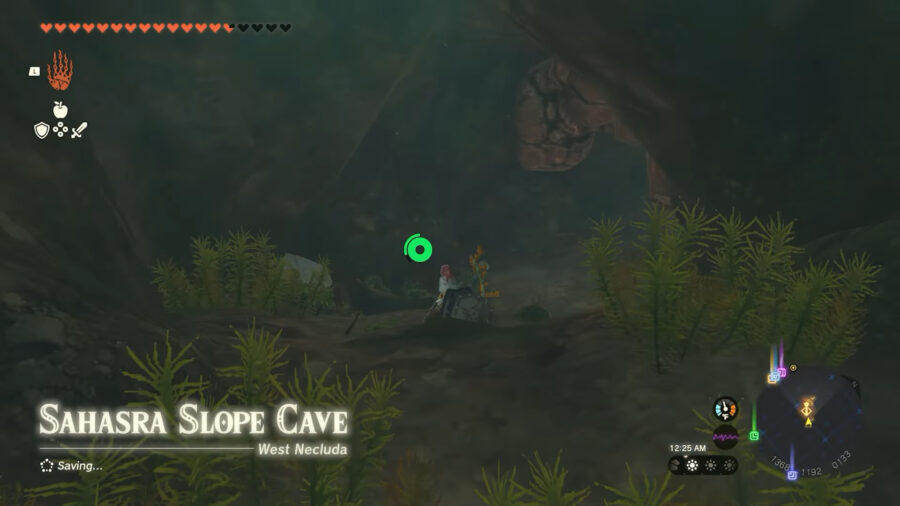
Once you’ve made your way to the location, begin by speaking to Billson at the entrance. He’ll prompt you to go hunting for mushrooms on his behalf in the Sahasra Slope Cave system beneath. Head straight down the stairs, and off the edge of this rocky hill. Proceed left to one of the two cave entrances, right between the Splash Fruit and the Blue Nightshade.

Opposite the Brightcap inside, is a destructible obstruction of rubble. Begin breaking through with your preferred method, be it a rock Fused with a weapon, explosive arrows, or Bomb Flowers. There’s a convenient rock for a fusion, lying on the ground right besides the rubble if you have nothing of utility on you. As you tunnel your way through, move sharply right along the cave’s indestructible walls, practically in a U-shape. Both Billson’s hint and the main path to the left are red herrings, and this little side cave you’ll be opening up is the true route towards accomplishing the task.

In this tiny cave, notice the trio of rocks propped up against the back wall. Stand in front of them, look up, and use Ascend where the grid turns green, so you can go intangible and swim right through the floor of the Tower that’s directly above. Once inside, simply use Ultrahand to remove the two long sticks on either side of the sliding doors, that are holding them shut. Speak to Billson again and you’re done: Sahasra Slope Skyview Tower is unlocked!

Sahasra Slope Skyview Tower unfogs and opens up all of West Necluda and Lanayru Wetlands on the Surface, and West Necluda Sky Archipelago in the Sky.

Material Farming

If you want to you can mop up the three Horriblin in the main cave below for some of the following drops:

  • Horriblin Horn
  • Horriblin Claw
  • Diamond
  • Brightcap
  • Brightbloom Seed
  • Giant Brightbloom Seed
  • Shield of the Mind’s Eye in a Chest

You can also destroy every last bit of rubble for all sorts of drops including various gems like Opal and Sapphires, as well as random Claymores. If you’re on the hunt for shrines as well as towers, check out our guide on Susuyai Shrine’s trial, “A Spinning Device.”

Diablo 4 FPS Counter Guide: How to Show FPS in Diablo 4

The long-awaited Diablo 4 is almost in full release, and many performance-savvy fans will likely want to show FPS to make sure they’re getting the most out of their PC. In previous iterations of the beta, players had to use their own graphics card software to check their frames. In the latest Server Slam beta, and likely in the full release, checking your FPS is a much more simple process. Here’s how to show the FPS counter in Diablo IV.

How to Display FPS Counter in Diablo 4

In the latest version of Diablo IV, checking your FPS is as simple as a keyboard shortcut.  Simply press CTRL+R at the same time, and you’ll be able to see your frame rate on the bottom-left corner of the screen. This way, you can make sure your performance is perfectly optimal as you fight through Lilith’s forces. You can also press the shortcut again to display your latency counter, and press it yet again to disable the setting entirely.

Mapping this feature to a keyboard shortcut is very handy, as you no longer have to navigate to a settings menu to manage your performance stats. You can leave this new menu up as a constant reminder that you could probably be getting better FPS if you spent more money on that graphics card, or you could just take a quick glance and get the menu off the screen.

At the time of writing, this feature is exclusive to the PC version of the game. Players on PlayStation and Xbox are unfortunately out of luck when it comes to checking their performance stats. 

That’s all you need to know to show the FPS counter in Diablo 4! Use the keyboard shortcut CTRL+R and you’ll be able to give your performance a quick check. Be sure to check out our other guides for useful information like Ashava spawn times for Diablo 4‘s Server Slam!

Legend of Zelda Tears of the Kingdom Susuyai Shrine Guide

One of the first shrines that players may come across in The Legend of Zelda: Tears of the Kingdom is Susuyai Shrine. Just southwest of the starting town, Lookout Landing, this shrine can be a simple one for players to finish and make early progress towards getting more hearts or stamina. Here’s everything you need to know to guide you through Susuyai Shrine’s trial, “A Spinning Device.”

Where to Find the Shrine

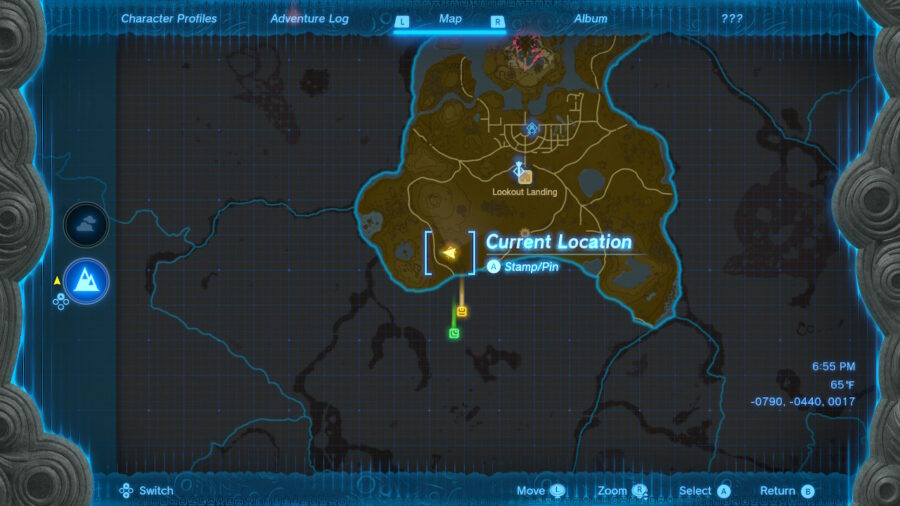
Where to find Susuyai Shrine in Zelda: TOTK.

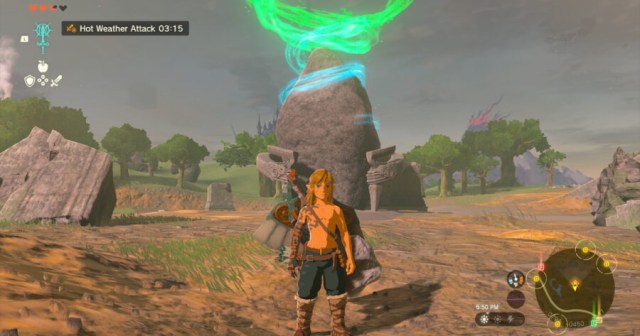
Susuyai Shrine can be found in Central Hyrule to the southwest. The specific region is Passeri Greenbelt, and it’s close to the border of Central Hyrule. You can find an image on the map above, or head to the coordinates (-0785, -0434, 0018).

The Legend of Zelda TOTK: Susuyai Shrine Guide

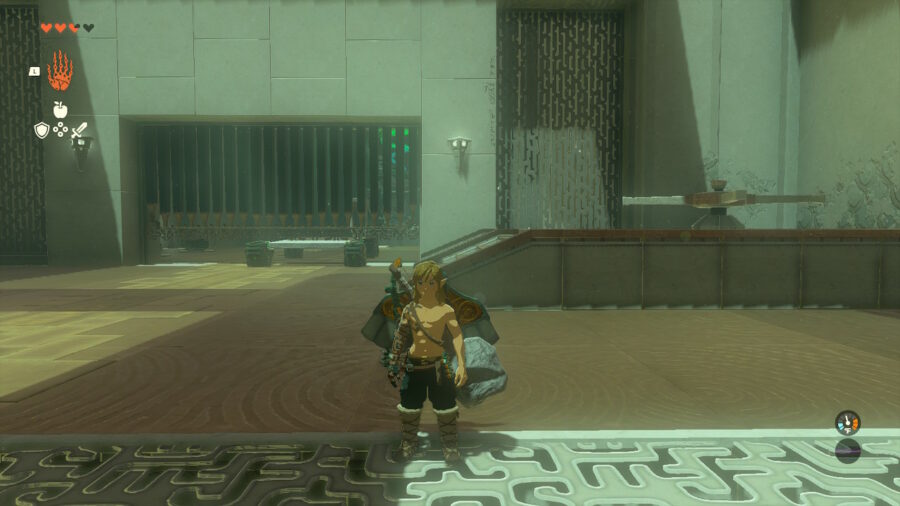
How to get the chest in Susuyai Shrine.

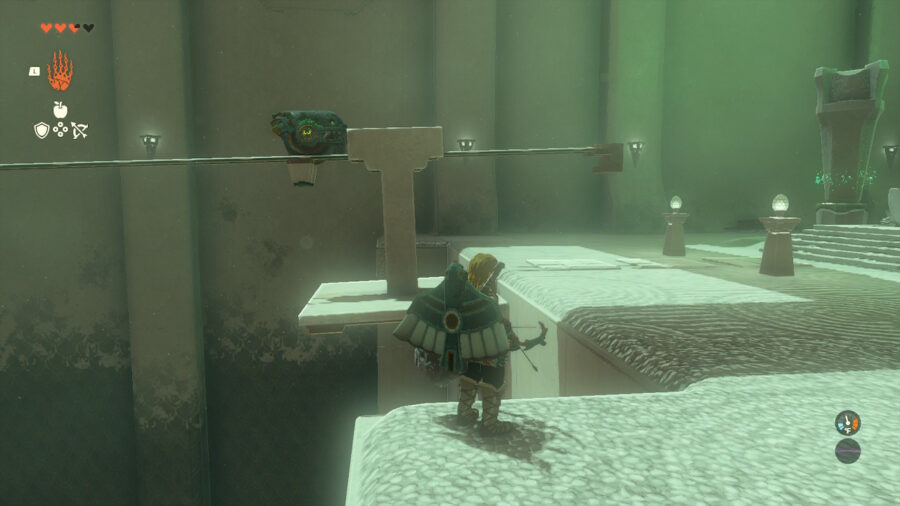
Immediately when you walk in, you’ll notice three car-like devices rolling across in a looping pattern. To get some bonus loot, be sure to stop the middle car so you can hop on and open the chest. The easiest way to do this is to use the Ultrahand ability and simply move the car to the next section. You could also simply grab the chest itself, and shake the right stick to detach the chest.

In the next part of Susuyai Shrine, you’ll be faced with a rolling cylinder to pass. You can create your own car using the parts provided for you. However, you can also simply grab one of the premade cars with Ultrahand and move it towards the cylinder. If it starts to roll away from you too soon, utilize Recall to move the car back towards you, then cancel the Recall once you’re on.

After this, you’ll come to a gate. To proceed past this, set your nifty car to continually run into the gate. Then, lift the gate by using Ultrahand to turn the mechanism to your right (when facing the gate), and lower it once the car is under. This will leave the gate ajar, allowing you to crouch by pressing left stick and sneak right under the gate.

For this final part of Susuyai Shrine, you’ll no longer need your car-like device. Simply remove a wheel (or grab one of the provided ones) and place it in the metal path above the platform. Line up the rotation to fit in this well to drop it in. It doesn’t need to be perfect, it just needs to stay in. Board the platform, and shoot the wheel with an arrow to get it rolling. If your platform leaves without you, use Recall to bring it back quick!

That’s all you need to know to guide you through Susuyai Shrine’s trial of “A Spinning Device” in Zelda: TOTK! Check out some of our other guides, especially if you’re having trouble remembering how to unfuse weapons in TOTK!

Biden’s Approval Rating Tanks After Leaked Audio of Him Ranking Windwaker C-Tier

WASHINGTON — Recent polls have indicated the approval rating of President Biden has dropped dramatically in the past week after audio leaked online of the President ranking The Legend of Zelda: Windwaker as C-Tier. 

“I’m not a very political person, but even I have my limits. The fact that our President can’t even appreciate one of the most iconic games of the Zelda series is proof he is not fit to be a leader,” said former Biden supporter Elaina Marlowe. “The American people deserve a Commander-in-Chief that will at least rank Windwaker in A [Tier], if not S. The only thing stopping me from calling for his impeachment is that he rightfully put Majora’s Mask at the top.”

Former president Donald Trump, who was heard in the audio collaborating with Biden on the Tier List, criticized the Democrat for his controversial ranking. 

“Stalfos Joe is a crook and a cheater, I’ve always said this. But the fact that he said that Windwaker’s music is ‘mediocre’ is just unAmerican. It really is,” Trump said at a rally in Florida today. “I’ve said some regrettable things on tape before, but I’ve never come close to anything so heinous as saying the greatest GameCube game of all time ‘boring.’ Stalfos Joe — I say that because he looks like a stalfos — he’s a skeleton man! Stalfos Joe, he has no chance, absolutely no chance at winning the election next year with such a pathetic understanding of good game design. He’s just bones and a sword!”

Biden addressed the audio at a Presidential Press Conference on Monday. 

“I apologize to anyone who was hurt by my comments, but I must stand by them as fact, Windwaker is mid at best, alright?” Biden said. “Those of you who decry my claim as ‘cringe’ or ‘skill-issue’ are merely trying to cope with the fact you didn’t grow up with Ocarina of Time. Although I know our country is now more divided than ever, I hope we can come together as a Nation and agree that Link to the Past is underrated.”

At press time, various presidential hopefuls were gearing up for upcoming debates by practicing their arguments as to whether or not weapon degradation in Breath of the Wild is good or bad.

Stay Updated on The Latest Punk News

Get the latest punk news delivered straight to your inbox

We'll store and process this information to provide you our products and services. You may opt out of this at any time.