Washington Announces New Comprehensive Far Cry Healthcare Plan

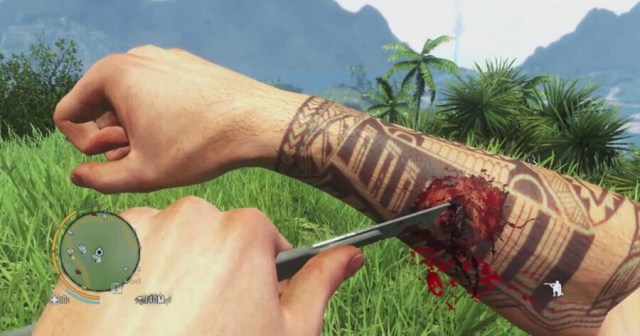
WASHINGTON — President Biden has signed the Far Cry Care Act, a groundbreaking new healthcare bill that expands the availability of health services by using affordable methods that are standard in open worlds run by power-hungry psychopaths.

“For too long in this country we have allowed citizens to fall through the cracks of the healthcare system. This new legislation will allow people of all walks of life to have bullets hastily dug out of their arms using rusty pocket knives,” said Secretary of Health Xavier Becerra in a recent press conference. “This administration believes every man, woman, and child in this great nation should have quick and affordable access to having rebar shrapnel ripped out of their abdomens without anesthetic.”

The reactions among American citizens affected by the new bill have been glowing. Fran Charlton, who could not previously afford treatment for numerous ailments, spoke highly of the expansion to care.

“Well, I’ve been dealing with the lasting side effects of all these wild animal attacks for years,” said Charlton, a working mother of four without access to health benefits. “Snakes, boars, hell, my youngest just got attacked by a honey badger last week and we couldn’t afford to get it looked after. So I’m just thankful that we can finally see a doctor again, even if all he did was wrap a single bandage around her forearm.”

Doctors have touted the effectiveness of the newly promoted methods, citing years of research.

“I spent years studying in the foremost medical environments — remote tropical islands, snowy Himalayan mountaintops, even Montana — and I can confirm that the FCCA is encouraging cutting-edge practices,” said French, a heart surgeon at Walter Reed. “Now, I have a steady line of patients outside my office daily looking to have their finger bones set or to have alcohol haphazardly poured all over their wounds.”

President Biden has now moved onto his next priority, a telecommunications bill that sets up at least two radio stations in every town.

FBI Broadens Search for Missing Person by Adding “Reddit”

WASHINGTON — The Federal Bureau of Investigation has broadened its search for missing person Ken Craigson by including the popular website Reddit, according to those familiar with the situation.

“In our ongoing investigation into the disappearance of Ken Craigson, we have decided to include the aid of Redditors,” FBI agent Melissa Grace said during a press conference. “This technique has proven useful in the past, like when I couldn’t figure out why my TV wasn’t detecting my PS4. Hopefully there’s a post we can find from 2020 or 2019 that explains where Mr. Craigson is now, or else we’re going to have to just ask on Twitter or make an Instagram story, and that usually yields very mixed results.” 

Agent Grace says the inclusion of Reddit has already yielded some promising leads.

“We have already found a thread featuring the question ‘AITA for searching the woods for a missing person?’” Agent Grace said. “Although we had to sift through snarky comments such as ‘I think you meant to post this in r/cringe’ and hacky jokes like ‘you’re telling me a person missed these woods?’ we found some replies that have pointed us in the right direction. Or at the very least, helped us figure out if we’re being dicks for even looking.”

Despite Reddit’s immediate usefulness in the search for Craigson, the FBI believes the website could help even more.

“We are begging Reddit moderators to please loosen their restrictions when it comes to posting,” the agent pleaded. “The rules in some of these subreddits are so labyrinthine that we can’t figure out whether or not we can actually post, despite having our entire intelligence staff looking into.”

“We will be charging BigHorseyGuy62 with interfering in an active investigation,” Agent Grace added, “and due to their status as a reddit moderator, they will face a minimum of 100 years in a military black site.”

At press time, the FBI agents reported that they had a great lead on the missing person case, but unfortunately quickly changed their tune when they opened the Reddit thread and found all the comments had since been deleted.

Fortnite Quest Guide: My Hero Academia Challenges (Week 1)

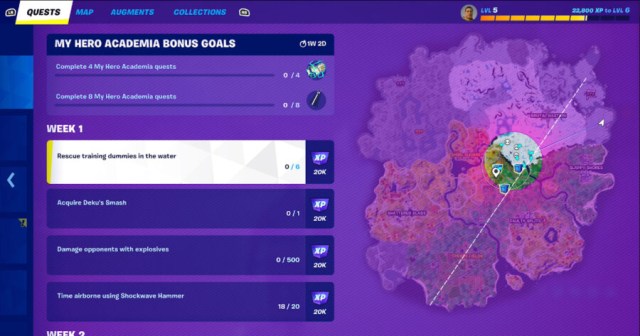
For some, Christmas came early to Fortnite with the addition of My Hero Academia characters, back blings, and even some quests! Each quest grants a nifty 20K battle pass experience, but the real unique prize is granted for players that complete 8 My Hero Academia quests before the event ends; All Might’s cape! If you’re anything like Izuku Midoriya, you might be nervous you won’t be able to finish them in time, but we’ve got you covered. Here’s how to complete week 1 of Fortnite’s My Hero Academia challenges.

My Hero Academia Week 1 Quests: How to Rescue Training Dummies in the Water

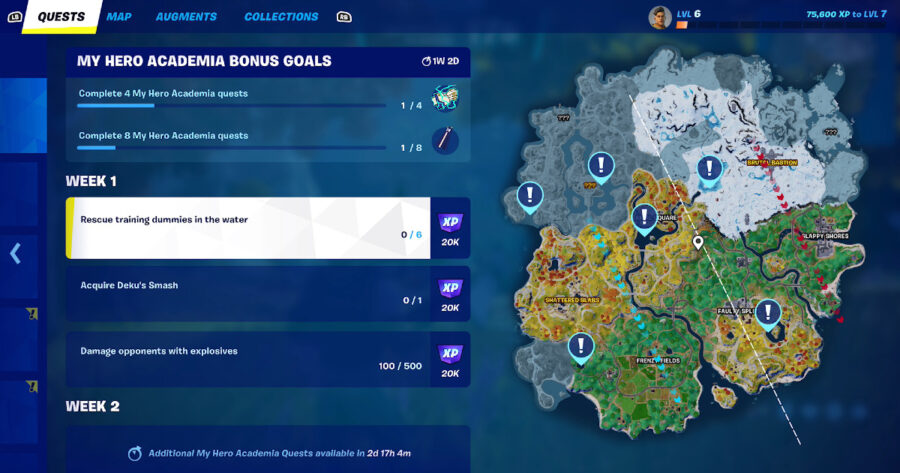
Like a true hero, you’ll have to undergo training before you can move on to saving real people. As such, someone has placed 6 training dummies in various bodies of water across the map, and it’s up to you to save them! First, you need to locate them. Luckily, we have a handy reference map for you.

Where to find the training dummies for My Hero Academia week 1 Fortnite quests.

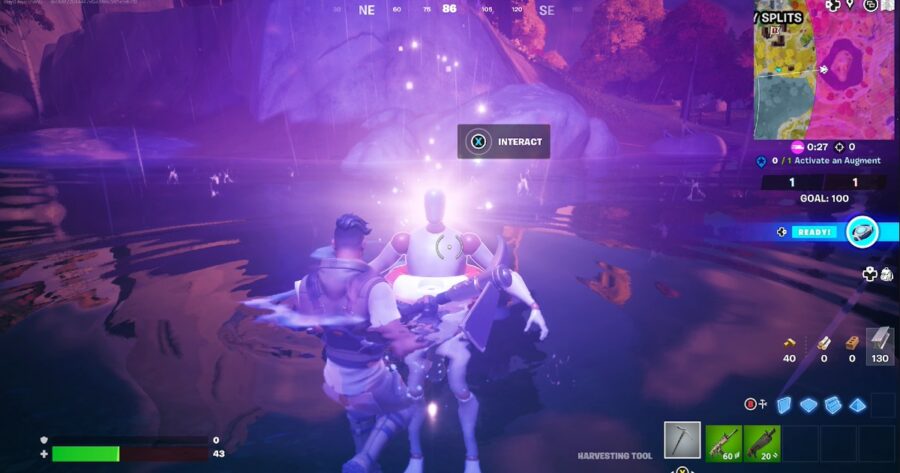
Once you’re close enough to them on the map, an exclamation mark will appear to let you know they’re nearby. Then, you just need to swim up to them and interact to complete the rescue. 

Do this five more times and you’re done with your first quest. The trickiest part of this is rescuing the dummy stuck in the ice on the north side of the island. You might find yourself slipping around while attempting to interact with it, so if you’re in Build Mode or Team Rumble try putting up some walls or non-slip floor panels to help you secure the training dummy.

My Hero Academia Challenges (Week 1): How to Acquire Deku Smash in Fortnite

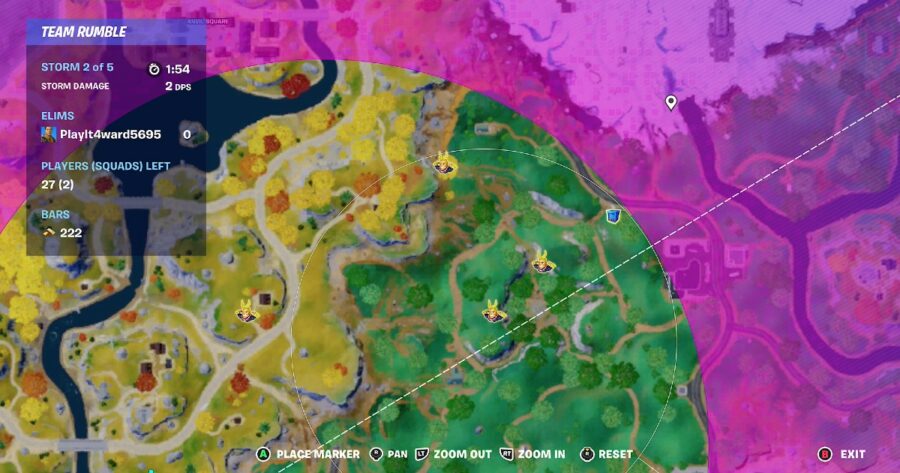
This wouldn’t be a proper anime event without some cool special moves and, much like Dragon Ball Z’s Kamehameha, we’ll be seeing Deku’s Smash attack blowing up buildings around the island. This ultra powerful move was teased in the Season intro video, but seeing it level a building firsthand is quite the experience. To get your hands on this unique attack, you’ll simply need to wait for a special supply drop to appear. 

Where to get Deku's Smash in Fortnite for the My Hero Academia Week 1 quests.

They bear All Might’s likeness and drop faster than a normal supply drop so be ready to grab it. Alternatively you can find one of the many vending machines that have been converted to Super variants. These will dispense a Deku’s Smash for some gold, so hopefully you’ve been saving up. You don’t even need to use it to complete the quest, but nobody would judge you for firing off a test smash immediately.

How to Damage Opponents with Explosives

This one is a little trickier, because there is no guaranteed way to ensure you’ll damage other players. Grenades, snowball launchers, and explosive bows all count toward this damage. I’ve found that the easiest way to accomplish this is by switching over to Team Rumble mode. You’ll have numerous opponents to attack, you respawn if you die in battle, and if you can find a snowball launcher (which deals explosive damage) then you’ll start each new life with a full clip. Then it’s as simple as pointing at the nearest enemies and firing away! 

Fortnite My Hero Academia Challenges: How to Achieve Time Airborne Using Shockwave Hammer

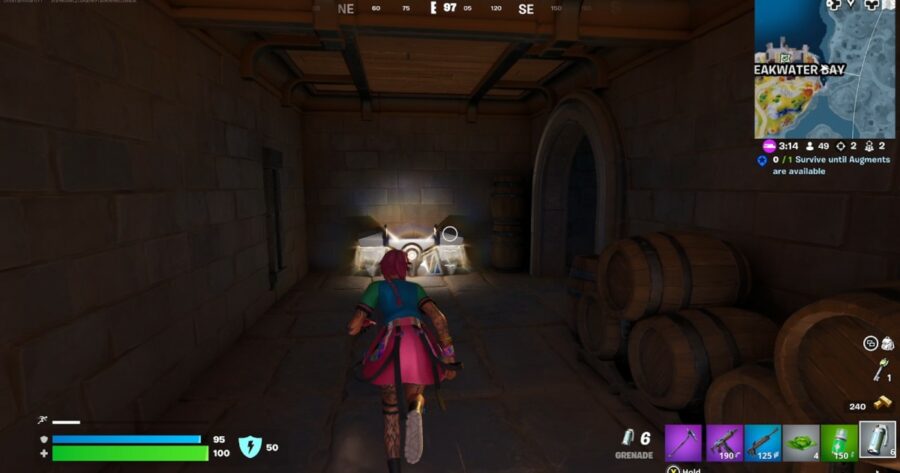
The final Week 1 challenge isn’t nearly as difficult, because you don’t have to hit anyone with the hammer. Finding one might be tricky but they tend to spawn more frequently from the new Oathbound chests. These sleek looking boxes can primarily be found in the medieval themed areas of the map, so be sure to check any stone towers or cottages for the chest.

It isn’t a guaranteed drop, but you should find a hammer after opening a few of these chests. Then you can go wild with the bounce function, which should be the same input you use to aim down the sights. 

As always, I recommend jumping into Team Rumble to complete this quest, because even if you’re killed you will respawn with your loadout intact, giving you more opportunities to earn airtime. After a couple of those, you’ll be done with the last quest for the week. Be sure to check back when the next quests are added for some helpful tips on completing them.

Disney Dreamlight Valley Guide: How to Get Festive Wrapping Paper

Disney Dreamlight Valley‘s Gift of Giving event has brought a lot of festive fun to the valley, including a myriad of unique cosmetics and furniture items to help you celebrate the holidays. Of course, it’s not only about the gifts you can receive – it’s the season of giving, after all. But if you want to give gifts to your beloved pals, you’ll need to find some Festive Wrapping Paper. 

How To Get Festive Wrapping Paper in Disney Dreamlight Valley

Where to find Festive Wrapping Paper in Disney Dreamlight Valley.

A few rolls of Festive Wrapping Paper spawn outside of Scrooge’s shop every hour or two throughout each day, so you’ll want to visit wherever you’ve stationed the greedy duck’s building and take a look around the surrounding area. If you have a significant amount of items placed around the location, you may want to move them away just a bit to allow some extra room for the spawns.

Each roll of Festive Wrapping Paper can be combined with another item at a crafting station to craft one of four different presents. You’ll need to craft a total of 10 if your goal is to complete the “Ho! Ho! Ho!” quest in your Village Dreamlight tab, which will reward you with the Pile of Gifts furniture to display anywhere in your home or valley.

The four gifts you can craft include the following:

  • Delicious Gift – Wrapping Paper (x1), Minnie’s Gingerbread Cookies (x1)
  • Handcrafted Gift – Wrapping Paper (x1), Festive Chair (x1)
  • Shiny Gift – Wrapping Paper (x1), Shiny Ruby (x1), Shiny Emerald (x1) 
  • Naughty Gift – Wrapping Paper (x1), Coal (x1)

When you start giving out your gifts, always select a different villager each time to be sure that it counts toward your “Ho! Ho! Ho!” completion. And don’t worry – if you want to hand out even more gifts, the Festive Wrapping Paper will continue to spawn until the end of the year, so you have plenty of time to stock up on it.

CoD Modern Warfare 2 Raid Walkthrough: Atomgrad EP 01 Guide

Call of Duty Modern Warfare 2 has released its first-ever Raid, Atomgrad EP. 01. Players will need to work together to complete the objectives, solve puzzles, and survive the onslaught of enemies to finish this Raid. Here is an Atomgrad EP 01 Raid guide to help you complete this raid in COD Modern Warfare 2.

Be sure to check out our general raid guide if you are having difficulty or are unsure of how to start a raid!

Best Team Loadout for the Atomgrad EP 01 Raid
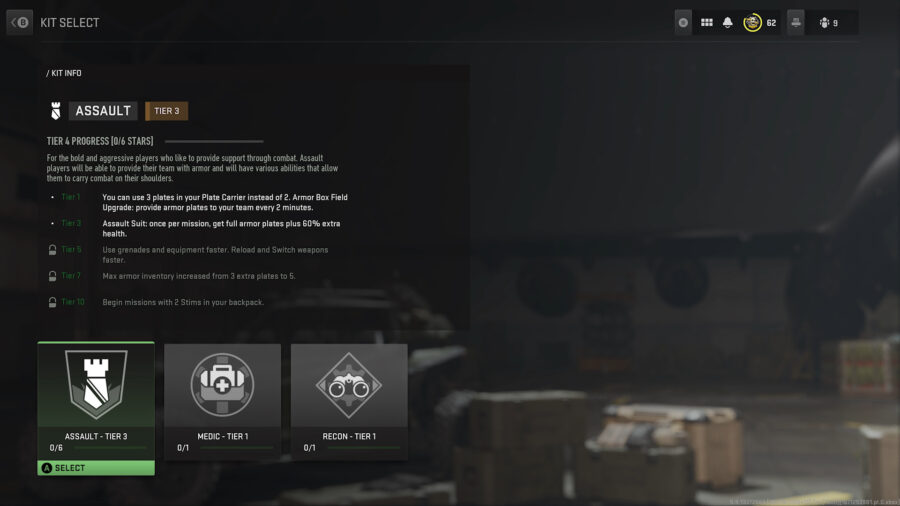
Similar to the Co-Op missions, players will be unable to select a specific loadout to play with; however, players will be able to choose a Kit. By earning stars in Co-Op missions and Raids, these Kits can be upgraded for additional benefits. The best team setup for the Atomgrad EP 01 Raid is to either have all three players running the Assault Kit or have two players run Assault Kits and the third running a Medic Kit.

Obviously, the more upgraded the better; however, for this Raid, we are mostly interested in the Tier 1 Assault Kit, which allows players to drop an Armor Box Field Upgrade every 2 minutes. And the Tier 3 Assault Kit, which allows the use of an Assault Suit once per mission adding an extra 60% health boost to the player.
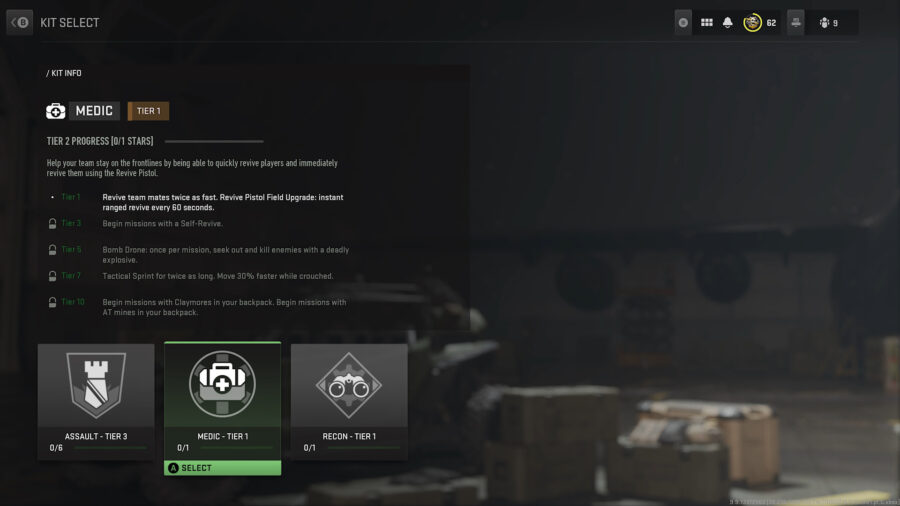
The Tier 1 Medic Kit allows players to revive teammates twice as fast and provides a Revive Pistol for an instant ranged revive every 60 seconds. The Tier 3 Medic Kit allows the player to Self-Revive once per mission. Any upgrades for either Kit after Tier 3 are an added bonus.

CoD MW2 Atomgrad EP. 01: Veteran Difficulty Differences
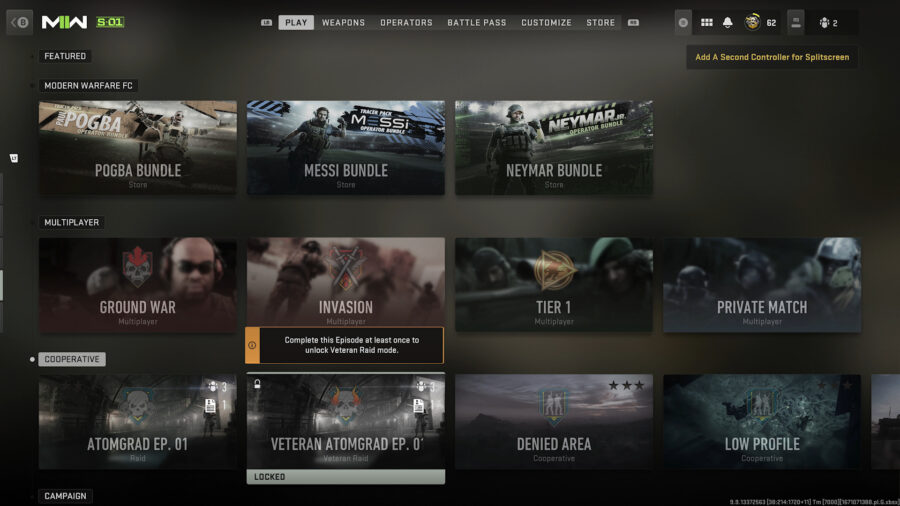
After completing the Atomgrad EP. 01 Raid, players will unlock the Veteran difficulty version. As expected, Veteran difficulty increases the number of enemies and their health significantly throughout the Raid. Additionally, certain timed sections will be altered to increase the difficulty, while other non-timed sections in the Standard Raid, like the Underwater Maze, will have a timer added to them as well. The walkthrough below is based off of the Standard Raid; however, as the objectives remain the same, it should also be helpful for Veteran difficulty!

Open the Submarine Doors

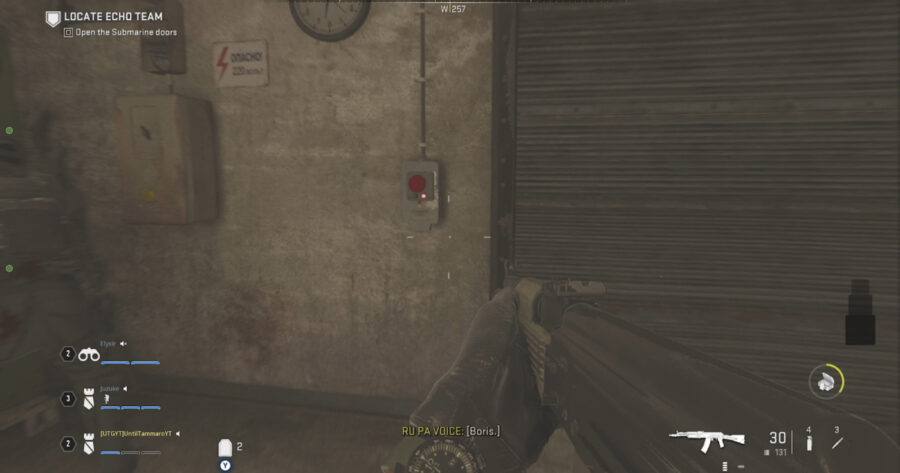
After some initial cutscenes, you’ll load into a waterway with walkways to the left and right, as well as some upstairs sections. Your objective is to push forward and open the submarine doors at the end of this waterway. You’ll immediately be confronted by enemies; however, they aren’t aware of your presence yet. It will take a lot of teamwork and coordination to stealthily pick off the enemies in this area, so give it your best try, but be prepared for a fire fight.
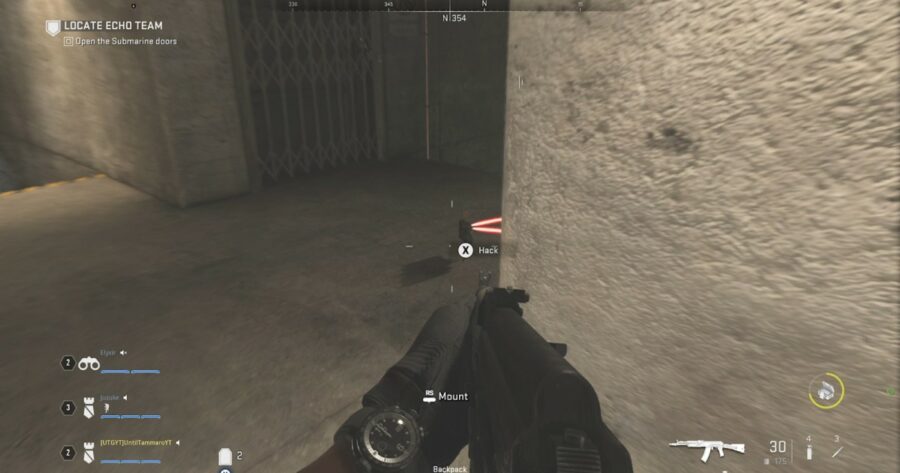
Once stuff hits the fan, make your way to the high ground and use it to fight off enemies, while slowly progressing forward. Early on, your teammates will mention that the enemies have set up traps. This whole area, top and bottom, is littered with very well hidden claymores, so keep your eyes peeled.

Next, you’ll need to solve the submarine door puzzle. Check out our submarine door puzzle guide to get past that hurdle and into the rest of Atomgrad EP. 01!

Atomgrad EP 01 Guide: How to Escape the Underwater Maze
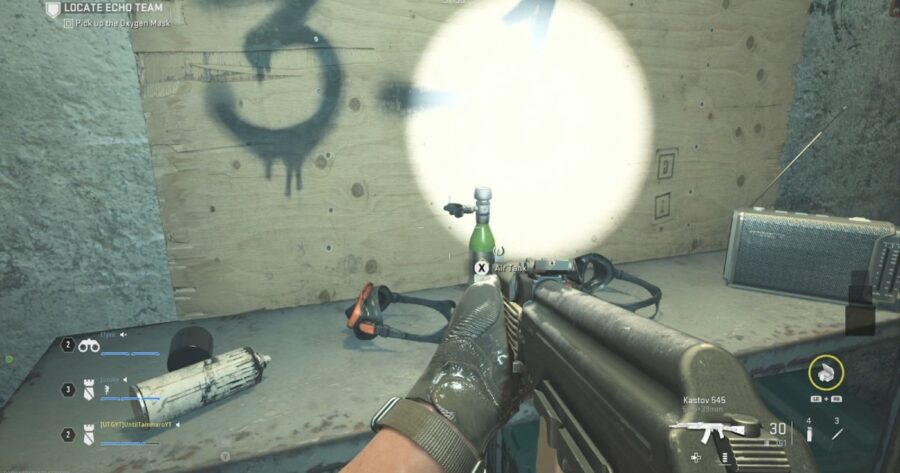
How to solve the underwater maze in Call of Duty's Atomgrad raid.

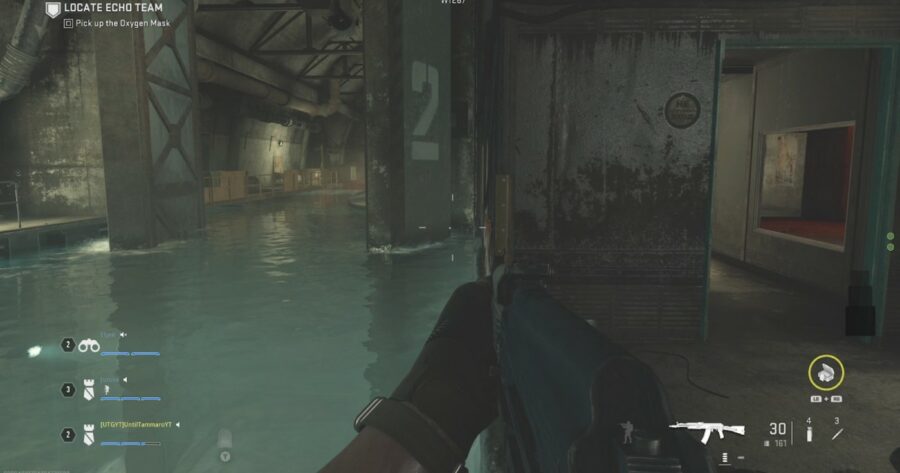
Swim through the submarine doors and before progressing through the opening underwater, make sure you grab the Air Tank on the table to the left of the submarine. This next section is fully underwater and lasts a while, so your team will need to share the Air Tank so no one drowns.
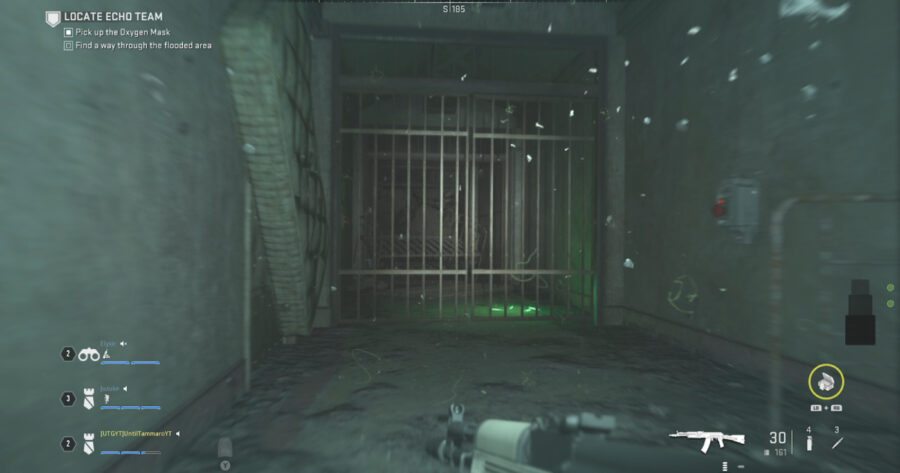
 

With the Air Tank, jump into the water and swim through the opening to enter the maze. Remember to share the Air Tank, grabbing it from your teammate when needed, and to use it with your primary fire button. This first section is linear and always the same, until you reach a closed gate. One player will need to hold the button to open the gate, while the others progress forward. On the other side of the gate is another button, which one player will hold to open the gate again, allowing the third teammate to come through.
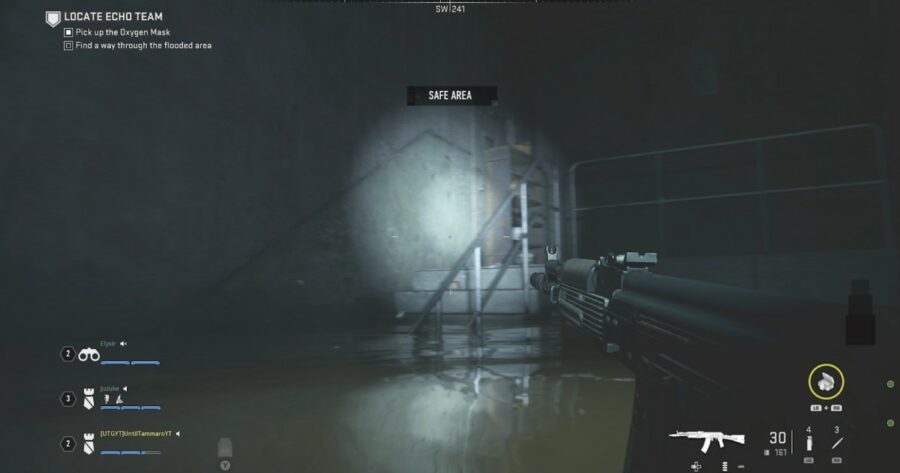
A safe area in the underwater maze area in the Atomgrad EP. 01 raid.

Immediately after this will be a stairway. Before swimming down to continue forward, swim up and out of the water to enter a safe area. This counts as a sort of checkpoint, so if anyone drowns they will respawn here. Keep in mind if anyone drowns, you will need to swim back to them, as they won’t have the Air Tank to make it back to you.

Now, head down and through the gate at the bottom of the stairway. Down this hall will be a set of trip mines, marked by some green glow sticks. You can either swim through them and tank them if you have enough armor, swim through and die since your respawn is right here, or head through the door to the right and swim around them.

Swim to the right, and this is where the maze truly begins. The layout of the rest of this section will change slightly between each playthrough; however, there will always be an additional safe area and the exit will always look the same. The safe area is an elevator shaft, as shown in the above image, just swim to the top to set your new checkpoint.
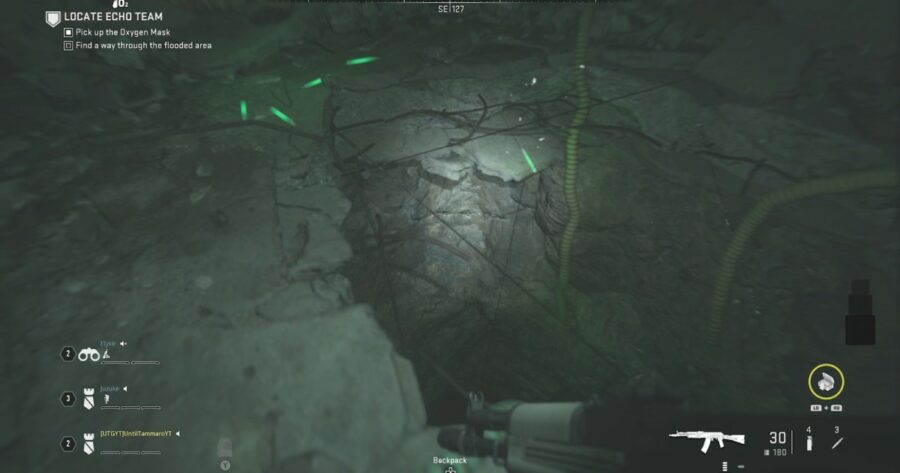
The exit will be a hole in the ground, marked with green glow sticks and covered with more explosives. You’ll want to swim through and either tank the damage or die and respawn then return to the hole to progress forward.
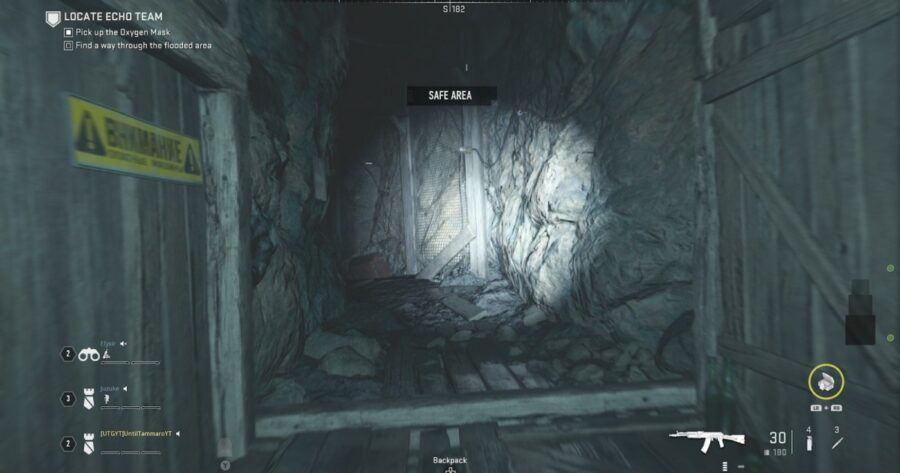
The path from here is linear again, so swim forward until you exit the water. You’ll enter into a mine shaft, which is marked as another safe area. Keep moving forward and jump back into the water at the end of this mine shaft.
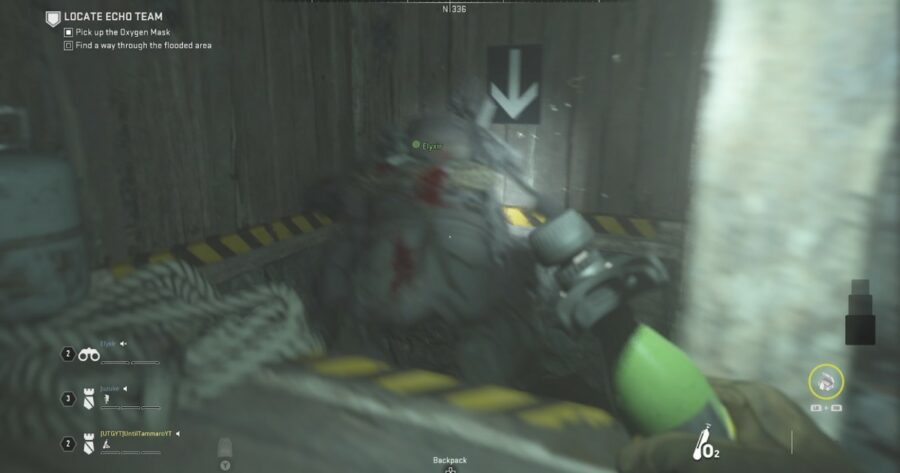
In this next underwater section, you want to swim deeper underwater. To do so, follow the arrows on the walls to make your way deeper into the mine.
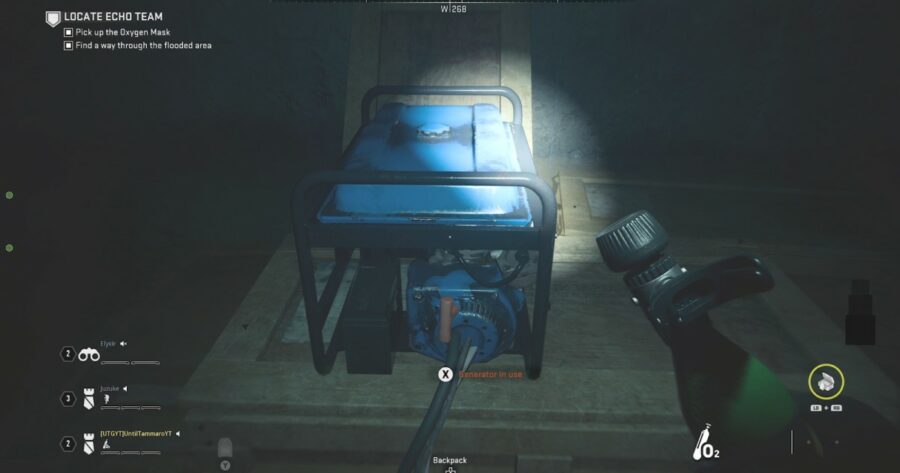
Eventually, your team will resurface in a mostly flooded room with a generator and wires that continue along the ground underwater. There is a submerged door and a button at both ends of the wires. One player will need to turn on the generator, which will activate for a short duration. Another player needs to hold the button to open the door allowing their teammates through. The players who go through will need to fight some enemies on the other side before opening the door to let the last player through. Most likely, the generator will turn off, meaning the player that was left behind will need to activate the generator again, while their teammate holds open the door and they swim through.

Atomgrad EP 01 Guide: Clear The Armory
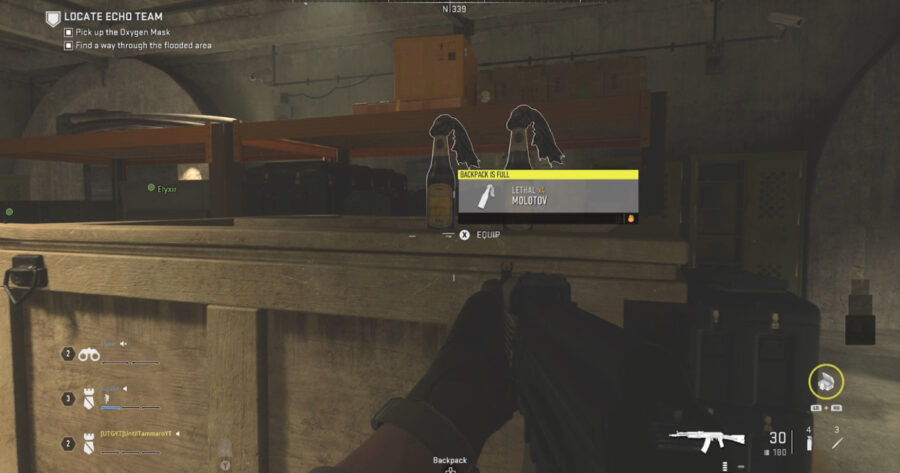
Continue forward and out of the water into an armory. Stock up on ammo and lethals, and swap out your weapons, as the next section is full of enemies, including some juggernauts. Once ready, exit the armory through the other side and begin fighting the enemies.
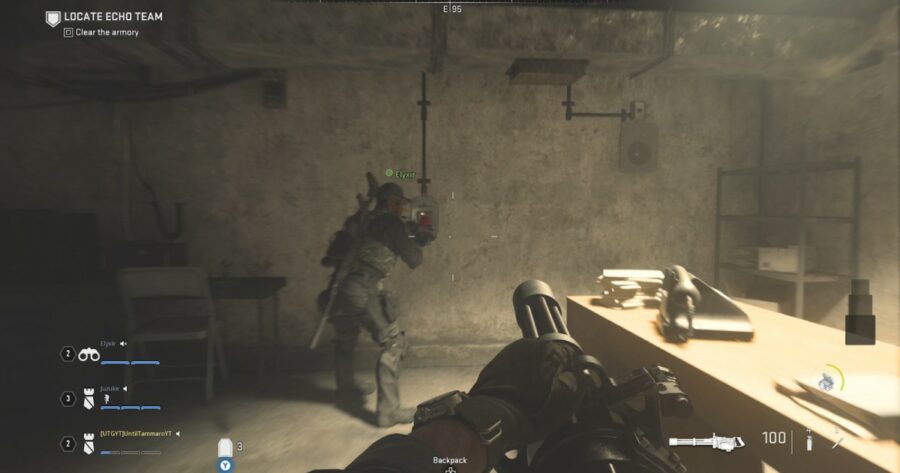
Progress forward slowly, as to not trigger both juggernauts at once. As you make it around the first corner, a juggernaut will emerge from the second door on the right. Pepper him with everything you got and make sure to grab his minigun. Inside this room is a button. When you’re ready, press it and watch the last door on the left. More enemies will enter, including another juggernaut. Mow through them all with the minigun.

Inside the final room on the left is a Riot Shield. We recommended everyone pick one up to protect their backs for the final section of the Raid.

Backtrack to the first room on the left and jump into the hole. Crawl forward through the vents until you drop down into the flooded tunnels. This is the final section of the Atomgrad EP. 01 Raid.

Atomgrad EP 01 Raid Guide: How to Open The Blast Doors

Progress toward the center circular tunnel slowly, as enemies, juggernauts, and bomb drones patrol these areas. In the center circle, you will find another code sequence machine and another red screen with Russian characters near a blast door. You will have to do the same type of puzzle from the submarine doors; however, this time you will be timed. But, let’s come back to this shortly as you will first need to activate two terminals to begin the cypher sequence.

Continue to the right of the machines and climb up the boxes through the first opening on the right. Fight through the enemies here and clear the first large room directly in front of you.

In this large room is a yellow terminal, activate it for the first part of the sequence. Before searching for the next terminal, make sure someone grabs the Sentry Gun next to this terminal. You’ll want to use this for the final stand later on.
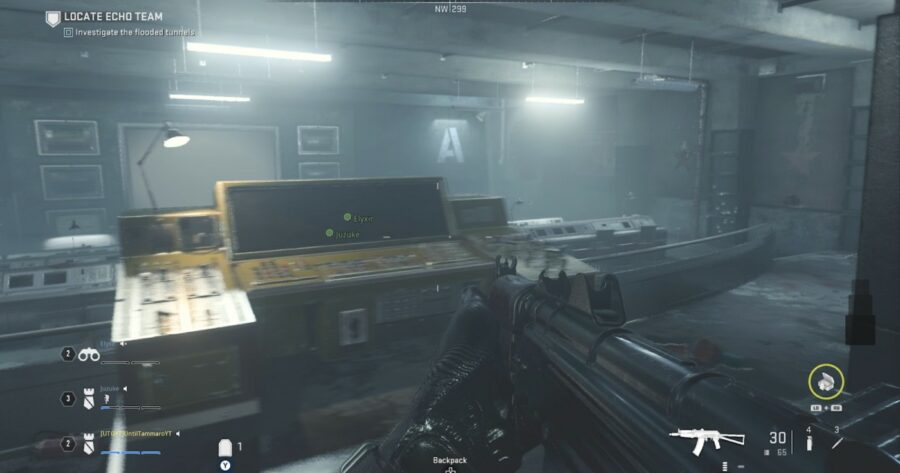
From this terminal, turn left and move into the next flooded tunnel. At the end of this tunnel, turn right and enter the next large room. There will be plenty of enemies to clear out here, including another juggernaut. Once the room is clear, head to the back of the room and activate the second terminal for the sequence.

How to Solve the Blast Doors Puzzle
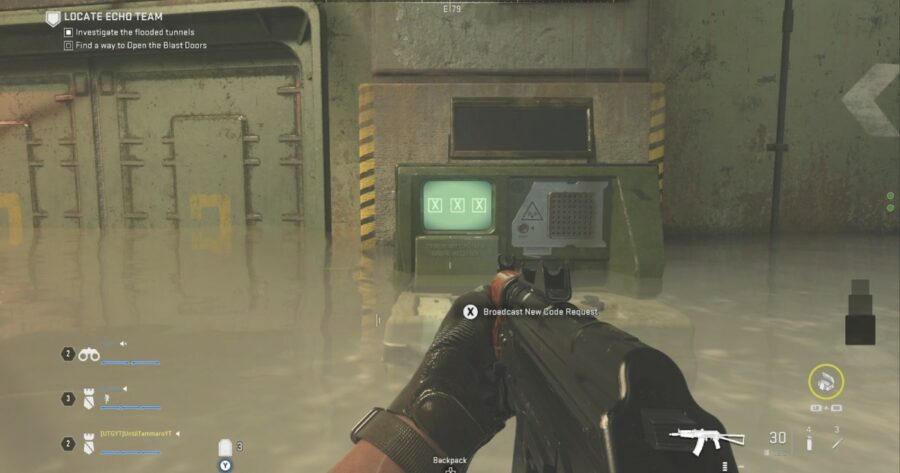
One player should return to the code sequence and Russian characters machines at the blast door, while the others set up at the two terminals you just activated. The player at the Russian characters machine will activate the machine, starting the puzzle. Similar to the Submarine Doors Puzzle, the player at the characters will read them out, while the other two players match the numbers at the yellow terminals. Then, the player at the characters machine should move over to the code sequence machine and enter the numbers. Again, the player’s finger print will be added to the database, meaning everyone will need to switch positions and repeat this two more times.

There are two main differences to the Submarine Door Puzzle: each sequence will be timed and after the first code is entered enemies will begin attacking. This means that players will need to fight back enemies, while completing the puzzle under a time limit. If the time expires, a new code will be created. If a team fails to enter the correct code three times in a row, either by running out of time or incorrectly inputting the code, the entire sequence will reset. So, if you have already entered two correct codes and mess up three times on the final sequence, your entire progress will be reset.

Survive! (Atomgrad EP 01 Modern Warfare 2 Raid Guide)
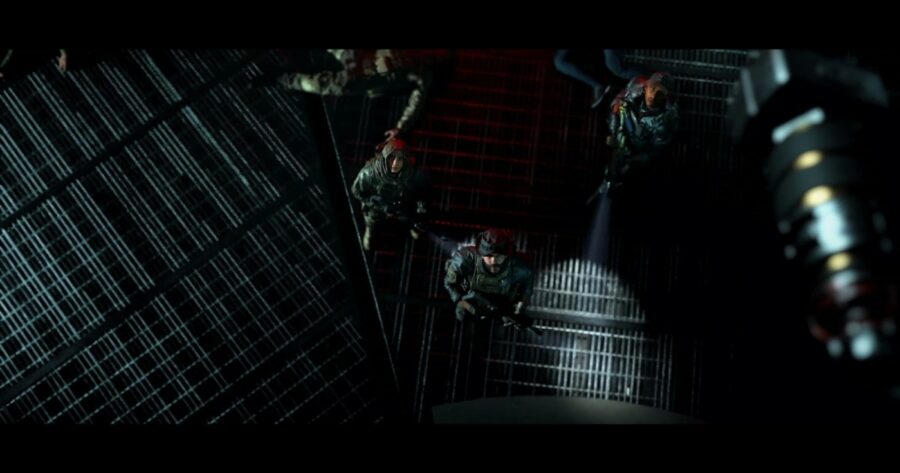
Once the final sequence has been entered, all players should regroup at the blast doors. You will need to survive the 4 minute timer, while the blast doors open. Enemies will pour in from every direction, including bomb drones and juggernauts. The player with the Sentry Gun should set it up on the boxes to the right or the left and hope that the juggernauts come from that direction. The basic enemies are simple enough to deal with; however, everyone will need to focus on the juggernauts. Your riot shields should keep you protected from enemies closing in behind you. Also, the bomb drones are deadly, so look out for their red/yellow lights and take them out quickly as their explosions can easily wipe your entire squad. Don’t forget to pick up ammo and enemy weapons whenever there is a short respite from the waves.

Keep in mind, you can move away from the blast doors if needed; however, enemies will plant a bomb on the machines to stop the progress. You will need to defuse the bomb. If the bomb goes off, you will automatically fail.

Once the timer ends, enemies will stop spawning; however, you will need to clear the area. After defeating everyone, all members of your team need to interact with the blast door to finish the Raid. You will watch a couple more cutscenes, setting up the Atomgrad EP. 02 Raid, and receive one of seven random rewards for your success.

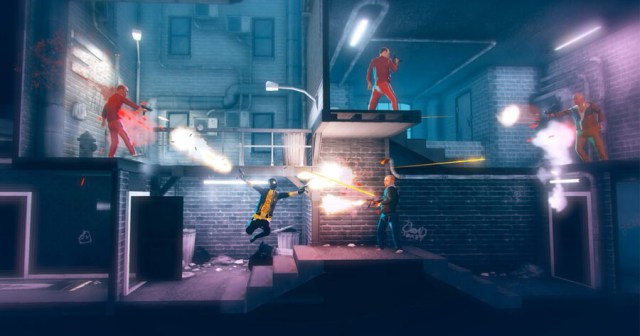
Opinion: My Friend Pedro Is a Dangerous Game That Will Inspire Children to Backflip in Slow Motion While Perfectly Head-Shotting Six Guys in Succession

If there’s one thing we know about video games, it’s this: children are learning how to do violence by playing them. Throughout modern history, video games have acted as a sort of tutorial for children to figure out how to bring the most pain they can to the world. That is why it is our duty to inform parents and the government about extremely harmful video games that could train children to become deadly assassins. And today, I am here to warn you about the perhaps the most treacherous video game I have ever encountered, My Friend Pedro, which I gravely fear will inspire children around the world to learn how to backflip in slow motion and perfectly head-shot six guys in succession in their local neighborhood.

The scariest thing about discovering a game like this is that I discovered it when I noticed my 8-year-old son Dennis playing it on his computer. Every day I fear for the monster that Dennis may become from playing violent video games. Will he become like Master Chief, learning to use anything he sees as a weapon? Will he become like Doom Guy, seeing everyone in front of him as a demon, void of humanity? Or will he become like the protagonist of My Friend Pedro, slowing down time so that he can perfectly murder everyone around him with a precision that makes me shudder to my very core?

It is my job as a parent to take these games away from him, so as to hold the monster within him at bay, and of course, I have. I’ve also noticed that Dennis has taken to eating bananas — surprising, considering that he generally hates all fruits and vegetables — likely due to the titular talking banana in the game named Pedro. It scares me what he’s already taking from this horrid game, and it scares me to think where it could go next; fruit may be step one, but murder is only a step or two later. As a result, I have removed all fruits from our home, so as to make sure that my son takes no more influence from these violent “entertainment” systems. I urge fellow parents (and even adults who know people with children) to do the same to keep our streets safe.

But this is not enough. We need to urge our lawmakers to ban these video games everywhere they are available. If there is one thing — just ONE thing — we can do to fight gun violence, it is removing it at its source: HD remakes of popular side-scroller Flash games where you click a bunch of guys to kill them in slow motion. Because my son Dennis just asked me if he can start taking gymnastics classes and I absolutely refuse to let him learn how to perform a spin or a backflip. That’s my duty as a parent and that’s my duty as an American citizen. Dennis may seem sweet now, but trust me: there’s a killer lurking inside of him, as there is in all children. And slow motion blood particle effects are just waiting to bring those monsters out to kill us all.

Hey! Believe it or not, this article is sponsored by Devolver Digital. If you too want to learn how to do meticulously crafted slow-motion violence, check out My Friend Pedro on Steam! It’s only 5 bucks right now, baby.

Riot Games Recommends New Employees Play ‘League of Legends’ to Prepare for Toxic Work Environment

LOS ANGELES — Riot Games announced a new policy today, encouraging all new hires to spend at least a few hours in League of Legends before their first day at the office, to give them a taste of the overwhelming negativity they will be experiencing in the workplace.

“We spent a long time trying to fix the hostile culture here at Riot headquarters, but then we realized we could just prepare the employees for it instead. And it turned out we already had the ideal tool to do that. League of Legends introduces our new hires to the types of verbal harassment they will be facing at work, every single day!” said Jordan Mazer, senior director of HR at Riot Games. “The unrealistic expectations set by League of Legends teammates strongly resemble the unrealistic expectations we keep here in the office. Everyone in our office, no matter their title, could use a little reminding that they’re a ‘stupid fucking idiot’ every once in a while.”

Newly hired character designer Susan Connelly felt the negative feedback she faced when playing League of Legends was a great preparation for the negative feedback she received at work, usually for denying sexual advances from her boss.

“I’ll admit, I was slightly aghast when SonicSniper94 called me a ‘jizz guzzling fuckface’ for giving up three kills top lane,” said Connelly. “But when my boss called me a ‘jizz guzzling fuckface’ just a few weeks later, I swelled with Riot pride, knowing our corporate culture so closely represents the values of the League of Legends community.”

Veteran League of Legends players were not surprised to hear the news of Riot’s new policy. 

“It’s a bad game for bad people, so I’m not shocked the company is also run by bad people,” said Alexander Sterling, five hours into his daily ten-hour play session. “I’ve often compared LoL to the sixth circle of hell. It only makes sense that Riot Games would be the seventh.”

At press time, Riot Games had handed out real-life Phantom Dancers to all employees and announced that holiday bonuses would be distributed the same way as First Blood bonus gold.

CoD Modern Warfare 2 Atomgrad Guide: How to Open the Submarine

Call of Duty Modern Warfare 2 has released its first-ever Raid, Atomgrad EP. 01. Players will need to work together to complete the objectives, solve puzzles, and survive the onslaught of enemies to finish this Raid. Here is how to solve one of those puzzles, and how to open the submarine in CoD Modern Warfare 2.

CoD MW2: How to Solve the Submarine Puzzle & Open the Doors

How to open the submarine door in Warzone 2.

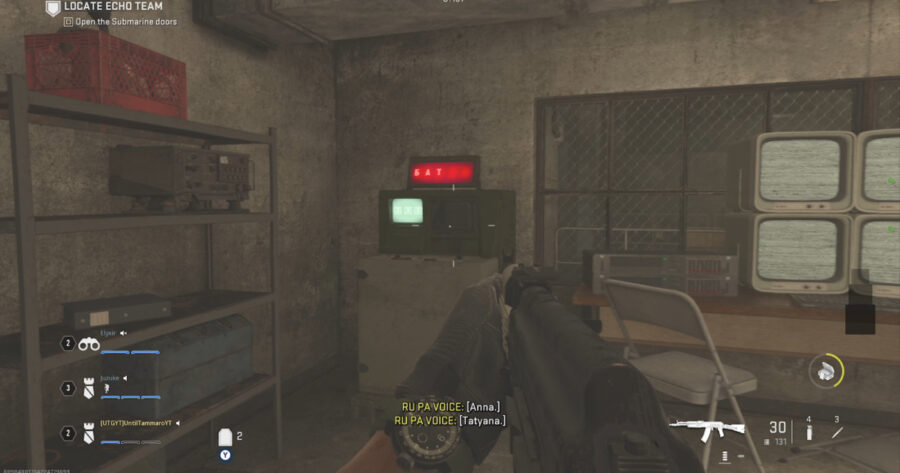
At the end of the intro area, you will find the submarine doors. To the right of them will be a small room with a number of pieces of equipment and another door that opens to a connected room with more equipment. This is our first puzzle, so let’s go over everything in these rooms and how to use them to open the submarine door in CoD‘s Atomgrad Ep. 01 raid.

The first piece of equipment in the first room is a monitor with a red screen and Russian characters on it. These characters are the key to the puzzle and you will need to use them to find correlating numbers with the CCTV monitors, the next piece of equipment in this room.

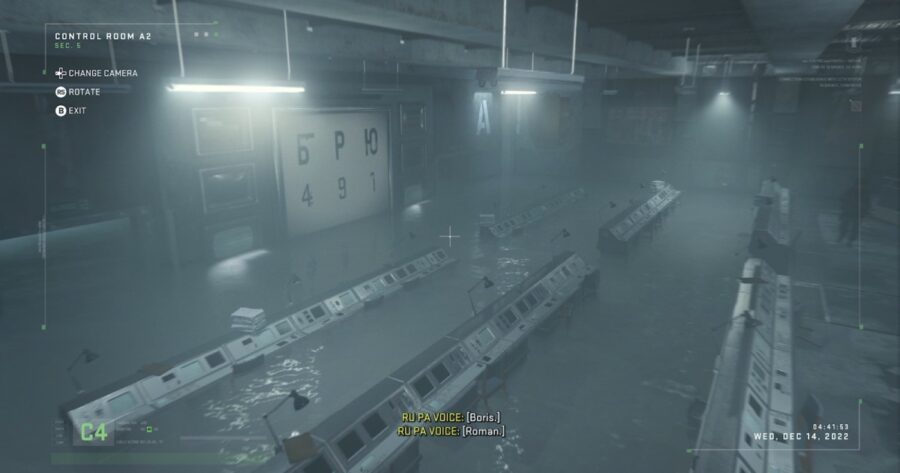
The CCTV monitors are located next to the red monitor and can be used to access multiple cameras around the facility. These will be used to find the characters from the red monitor and their correlating numbers to be entered in the next piece of equipment, the code sequence machine.

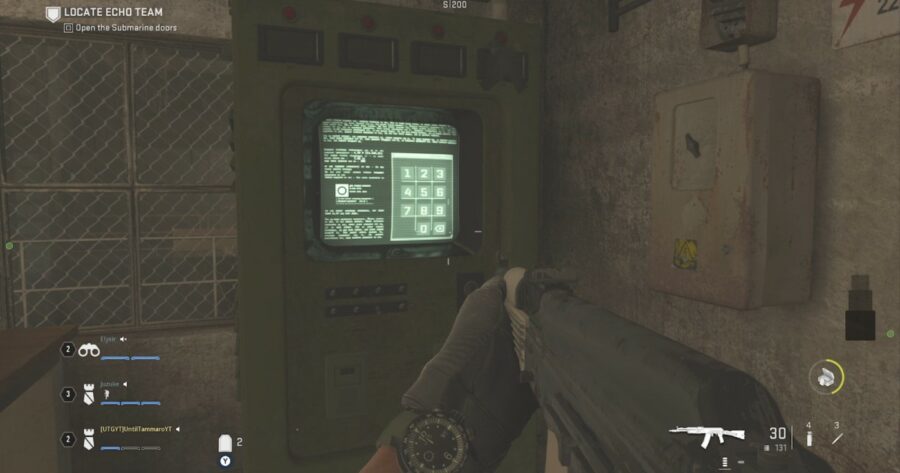
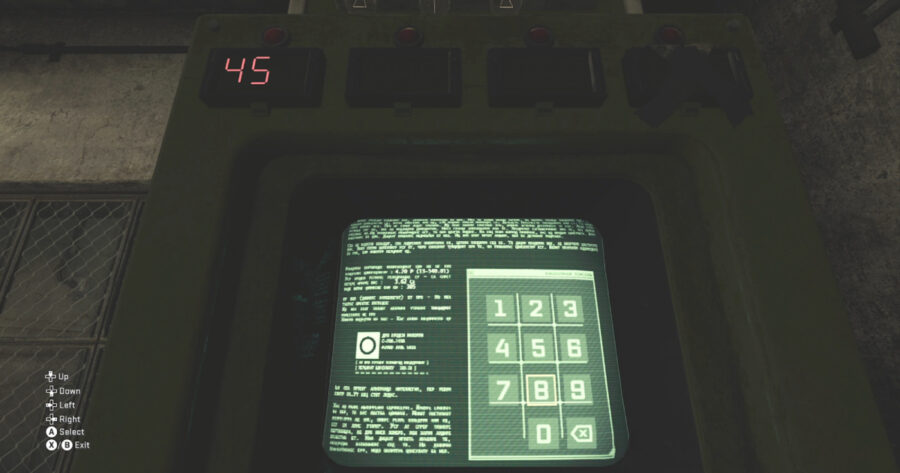
The code sequence machine is located to the right of the CCTV monitors in the first room. This machine is simple as all you’ll use it for is entering the numbers on the keypad for the code sequence.

Finally, there is a button at the end of the room, which is used to open the door into the next room. The next room has another set of CCTV monitors. To enter and exit this room, one player in the first room has to hold the button to open it, while another player crawls through.

With all the pieces explained, let’s solve this puzzle! Hold the button to the second room and have one player crawl through and hop on the CCTV monitors in the second room. Back in the first room, one player should read the characters on the red screen, while the other uses the CCTV monitors in this room. 

The code to get into the Submarine in the Atomgrad Ep. 01 raid in Modern Warfare 2.

Once the correlating numbers are found, one of the players should enter the numbers into the code sequence machine. If correct, an on screen indicator will let you know and announce that the player’s finger print has been added to the database. This means that whoever entered the code will not be able to enter anymore codes for the rest of the puzzle. 

This process repeats two more times, so each player will need to enter a code into the code sequence machine. Each time the process repeats, more characters will be added to the red screen; however, some of the characters are duds as you will still only be looking for three numbers, so the other characters won’t have correlating numbers to find on the CCTV monitors. Once three correct sequences are entered the submarine doors will open and you’ll be ready to progress in this CoD raid!

Which Spider-Man Villain Do You Wish Would Murder Your Uncle for You?

Uncles can be a bit of a handful. Whether pointedly bringing up politics out of nowhere during a family dinner, or making racially-charged comments about the NFL after a couple drinks on Christmas, sometimes Peter Parker’s origin story seems a bit enviable. But which nemesis should do the dirty work? This list will break down the pros and cons of some Spider-Man villains murdering your uncle.

A Burglar

PRO: Down-to-earth, relatable killer that would teach you the value of heroism

CON: Nobody likes sloppy seconds

The Green Goblin

PRO: Poetic justice for your uncle who doesn’t believe in vaccines to be offed by a scientist.

CON: Can’t inherit your uncle’s vintage Cowboy’s jersey if its disintegrated by a pumpkin bomb.

Sandman

PRO: Gives Thomas Hayden Church more work

CON: Will be cleaning your uncle’s murderer out of your shoes for weeks

Mysterio

PRO: Uncle would have to suffer through a live theater performance

CON: SAG notoriously difficult to coordinate with

Venom

PRO: Journalist Eddie Brock already has grievance with uncles who decry ‘fake news’ 

CON: Uncle will launch into tirade about alien symbiotes taking the jobs of patriotic American supervillains

Kraven the Hunter

PRO: Would use every part of your uncle after hunting him 

CON: Could bond with your uncle about Second Amendment rights

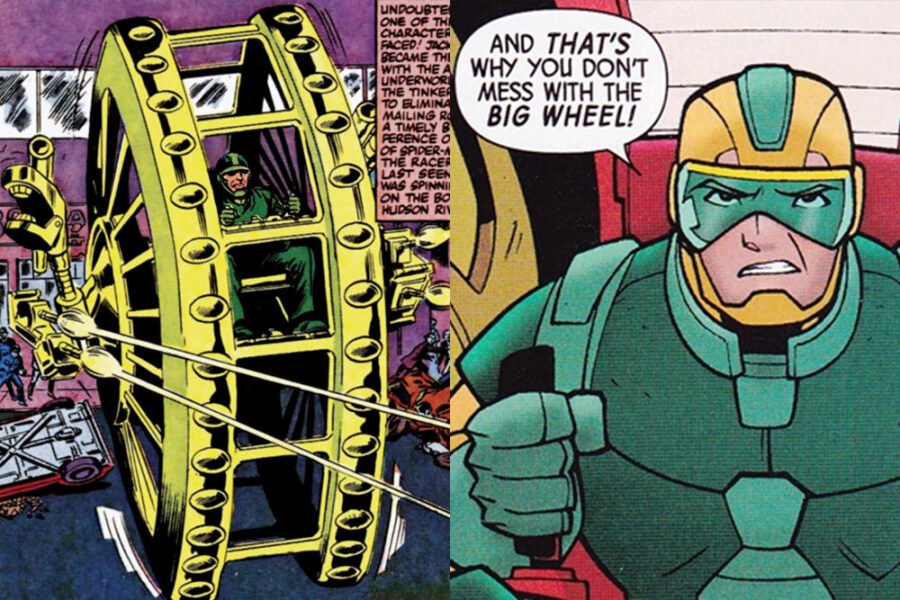
Big Wheel

PRO: Uncle flattened by a big wheel

CON: Uncle flattened by a big wheel

Call of Duty Warzone 2 DMZ Guide: Where to Find Building 21

The DMZ mode in Call of Duty Warzone 2.0 has been a popular mode that players have been diving into soon after its release. This mode offers a fresher take on the Call of Duty formula with players being able to scavenge for loot, complete faction missions, and defeat all kinds of AI enemies in the game. For now, the DMZ mode has been set in Al Mazarah, the primary location for the Warzone 2.0 battle royale. But, there is another, more specific location Call of Duty players have been looking for: Building 21. 

What is Building 21 in Call of Duty Warzone 2?

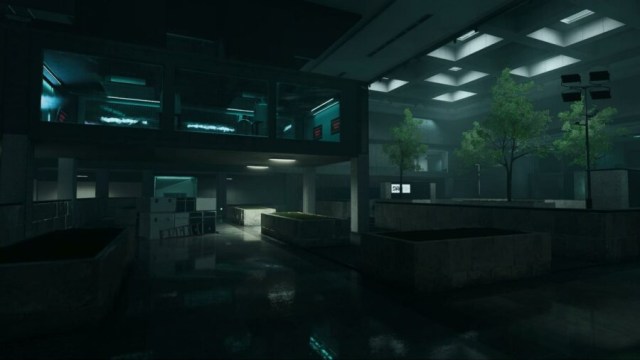
This location is separate from Al-Mazrah and is said to be a mysterious biological laboratory full of secrets. Here is how to find and get Building 21 in Warzone 2.0 DMZ. This location is said to be very dangerous as it is filled with high-level enemies as well as other players. But, as hard as the location is, it is also filled with lucrative items. This includes weapons like the Chimera Assault Rifle and the RGL-80 grenade launcher.

Call of Duty Warzone 2.0 DMZ: How to get to Building 21

In order to get to Building 21, you need to get the DRC access card. Without this access card, you cannot enter that location. You can find these access cards throughout the DMZ in supply drops and SAM site drops around the map. There are also red and blue access cards that can be used to gain access to Building 21. These also can be found in the supply drops and Sam site drops.

After getting the Building 21 access cards, the option to deploy to the location will unlock in DMZ. If you are playing in a party or with friends, only one of you has to have access cards for Building 21. Infinity Ward has said that Building 21 will be available for a limited time, but unfortunately not specified for how long. So, if you fail to explore the location during this period, you will have to wait until the building is live again. Keep an eye on Infinity Ward’s Twitter to make sure you don’t miss your chance to access this secret building!

Stay Updated on The Latest Punk News

Get the latest punk news delivered straight to your inbox

We'll store and process this information to provide you our products and services. You may opt out of this at any time.