Overwatch 2 Season Two has introduced a new map, Shambali Monastery. This new map is the former home of Zenyatta and Ramattra, as well as countless other Omnic refugees. Here are some tips to help you play better on this map.
Overwatch 2 Shambali Monastery Tactics
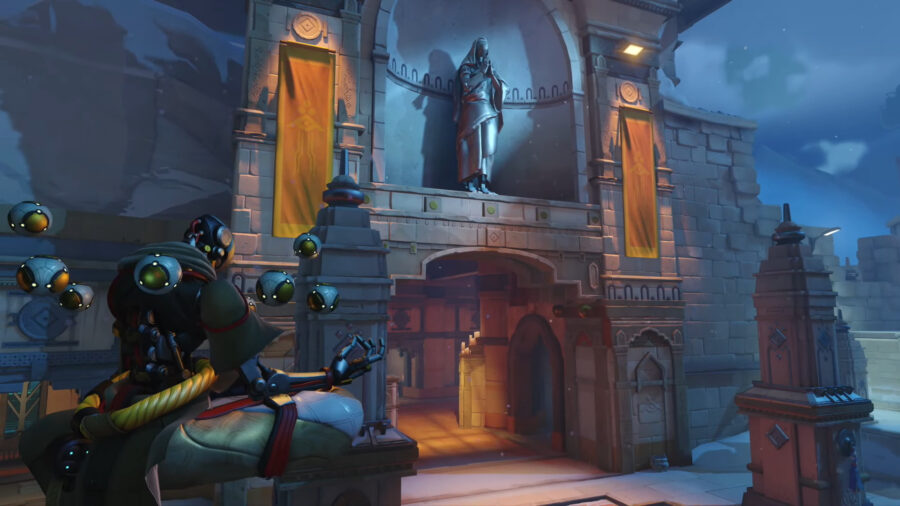
Shambali Monastery features a small town, a mining cave, winding cliffside paths, and a temple at the top of the mountain. There are a lot of side paths and hidden health packs to find, making this one of the more interesting and confusing additions to Overwatch 2’s map pool. Below, we will discuss some basic strategies to help you understand and become acclimated to this map.
Overlook the Push Track from the Balconies of the Town
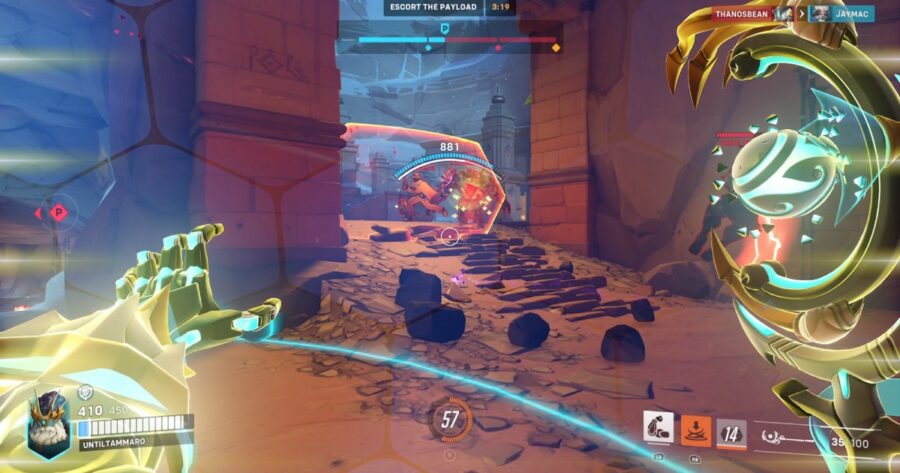
The first portion of the map takes the Push cart through a small town. Many of the buildings on both sides of the street have balconies that overlook the entire path of the push cart. These can be used effectively to watch over the area and pick off enemies running along the street. The best part is that you don’t have to be an expert Widowmaker player to use them to your advantage. Since the buildings line the street, the balconies are close enough to the action that many other heroes can get value from setting up in these areas. So look to set up a Torbjorn turret, or even a smart Bastion player around the first corner for almost guaranteed damage.
Flank and Be a Nuisance from Side Paths
Shambali Monastery is a Push map, so it features a lot of side paths that wrap around the push cart track. These side paths can come in handy for flanking enemies as well as escaping from sticky situations. Not to mention, a lot of the health packs on this map are hidden in little corners along these paths. Using heroes with their own methods of disengage, like Reaper or Moira, are super handy in effectively using these side paths and getting the most value out of these excursions. Your whole team shouldn’t be using these paths though, as the majority of them should be focusing on pushing/defending the cart; however, having one or two players constantly poking the enemy from the side can be helpful for not only dealing damage, but acting as a distraction to draw aggro from the enemy team and possibly even pull them out of position as they try to find/chase the person poking them. Additionally, using these paths is essential to get back into the fight quickly after a death.
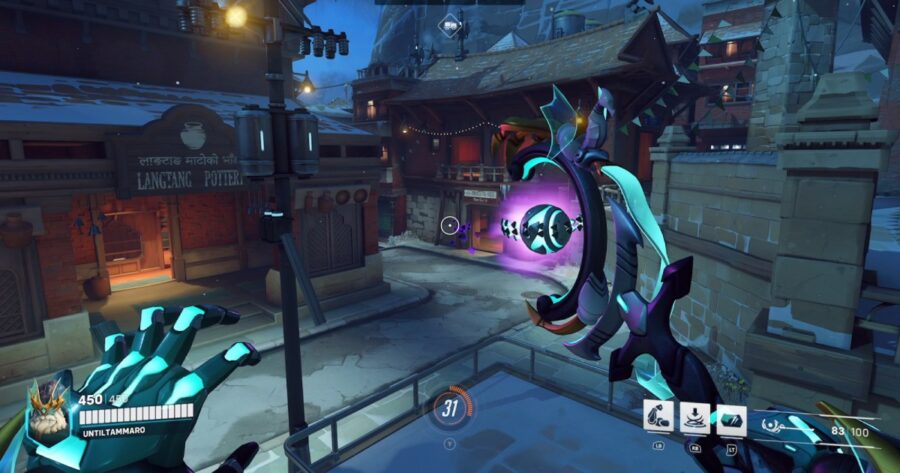
Overwatch 2 Shambali Monastery: Use Everything You Got Inside the Mine
After the first Push point, the next set of track goes through a narrow mine. This entire section is a choke point and great for close quarters/melee range heroes. Popping damage ultimates, or any area of effect attacks will yield practically free eliminations. Not to mention, there are small openings in the upper section of the mine that act similarly to the balconies of the town for mid/long range heroes. This is probably the most difficult stretch of the map to both attack and defend. A team kill here for either side almost assures victory, as both the entrance and exit to the mine are choke points themselves. Once enemies have been defeated, set up on their side of the mine and continue picking them off as they try to reenter the fight. If you find yourself on the losing end of this battle, remember to utilize the side paths around the map to get past your enemies blockade.
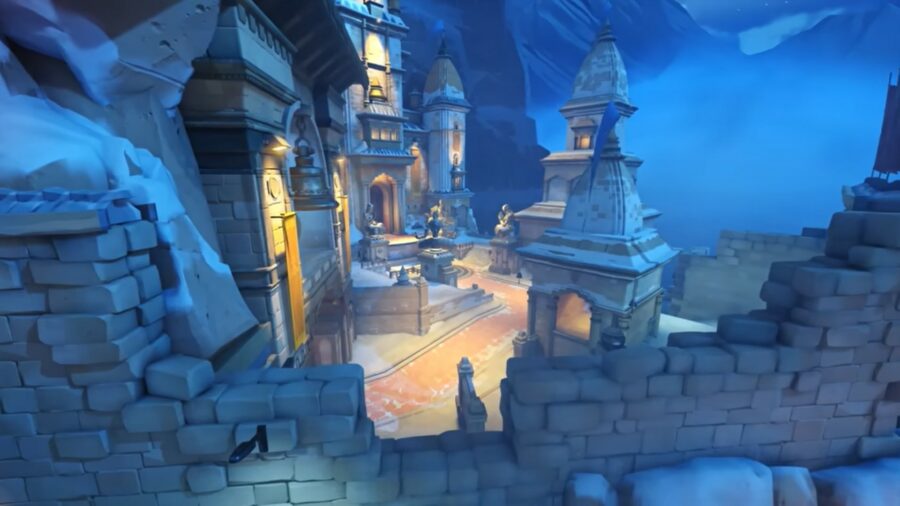
Overwatch 2 Shambali Monastery Tactics: Play Around the End of the Track
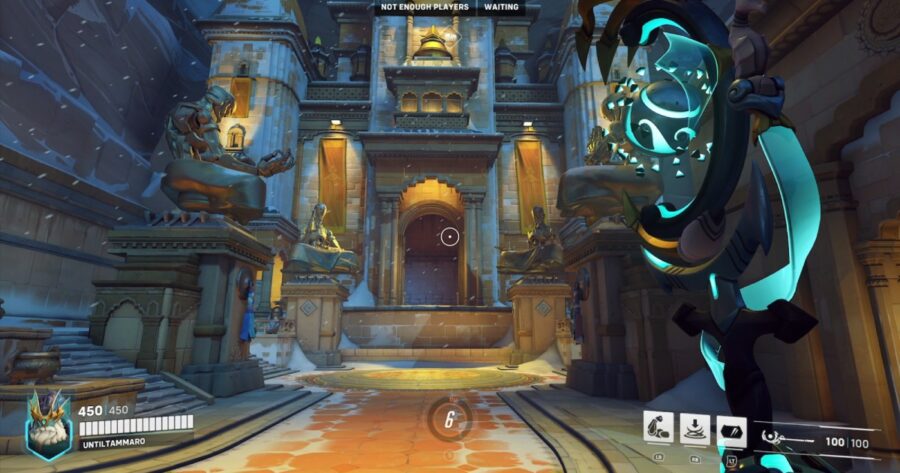
The Push track ends at the entrance of Shambali Monastery’s temple, denoted by a golden circle on the ground and four statues overlooking it. This area can get crowded quickly and heroes will often get melted by enemies in the elevated area surrounding it, so players will find more success fighting off to the side. There are staircases to the left and right of the final point, leading to a slightly elevated area that can be used to defend against the attackers. Again, setting up a Torbjorn turret here can be super effective if placed correctly. Attackers, on the other hand, will want to take control of these areas to prevent that. Unlike the town section at the start of the track with multiple balconies for both teams, there is only one elevated section in this area, so both sides will want to fight for control of the high ground.
