Patch 6.3 of FFXIV released on January 10, 2023 and with it came a new eight player trial, Mount Ordeals! In this trial you face off against Rubicante, the Autarch of Flame, the Elemental Lord of Fire, and the final of Golbez’s four Archfiends.
The trial unlocks following the dungeon also released in Final Fantasy XIV 6.3, Lapis Manalis. Finish the dungeon, complete a few quest objectives, and you will gain access to Mount Ordeals. I’ll walk you through the fight so you can defeat Rubicante and move on to pondering what Golbez’s next steps will be…
FFXIV Mount Ordeals Trial: Phase One
As soon as the fight begins, Rubicante will use Inferno. This is a simple unavoidable raid-wide attack, damaging every player in the party. Since this is both the opening attack, and unavoidable, there is very little chance of it causing any players to be knocked out. Feel free to use a low level defensive cooldown if your class has one, like Third Eye or Tactician, and stick close to the healers so they can heal the party quickly with AoE heals. Nice and easy.
Next Rubicante will raise one arm, imbuing his hand with flames, and change one side of the background of the arena into a realm of fire. Don’t worry though, despite how the animation looks, this itself is not and attack. Rather it signifies the next mechanic, Ordeal of Purgation. The floor of the arena will be divided into 3 sections, a red center circle, a purple middle ring, and a red outer ring. Each section will have white lines running through it. The center will have a single line, the middle ring has multiple lines, some of which are straight and others which turn to the left or right before continuing to the outer ring, which has multiple straight lines. Each line in the outer circle will connect to a blue marker around the outside of the arena. The blue markers each have a triangle on them, giving you a clue as to what they do. A small fireball will start from the center, and follow whatever line goes from the center to the outside. The marker the fireball hits will do a large cone AoE across the arena. The first two times this happens in the fight, just follow the line to see what cone will activate, and move close to that marker, but off to one side to dodge the AoE. You will be locked in place just before the AoE appears, so make sure you move to dodge fast! The mechanic will be slightly different the next time he does it.
Following this, Rubicante will use Shattering Heat, a telegraphed tankbuster attack, hitting the main tank. If you’re tanking, just avoid the party, and use defensive cooldowns. Healers should be ready to heal the tank after they’re hit. And DPS just avoid the tank so you don’t get hit as well.
Rubicante will then cast Arch Inferno. During this the center of the arena, directly under the boss will be instant death, and a series of large circular AoEs will appear around the edge of the arena. There will be two sets of AoEs directly across the Arena from each other, and each one will spawn further AoEs moving in a clockwise pattern. There will be one safe area on each side between the sets of AoEs that will move as new AoEs spawn and old ones go off. You need to run clockwise behind one set of AoEs, and ahead of the other, rotating with the safe zone around the boss. Smaller circle AoEs will show up beneath players, simply dodge these as they appear.
The next mechanics happen during Arch Inferno. First is Conflagration. This is a line AoE going across the arena, targeting the safe zones. However, there will be enough room in the safe zones to dodge this. The easiest way is to keep right behind the AoEs you’re trailing, so you end up in front of the Conflagration line. He will now cast Radial Flagration. This will be numerous small cone AoEs radiating outward from the boss. You just need to be in one of the spaces between the cones. If, like with Conflagration, you stay close to the AoEs ahead of you, you will have plenty of time to dodge Radial Flagration before the Arch Inferno AoEs reach you.
Once Arch Inferno ends, Rubicante will alter the background again, signaling another set of Ordeals of Purgation. However, this time there will arrows on the middle ring. The lines in that ring will rotate in the direction of the arrows by one space. For example, if there is a straight line connected to the center line, when it moves there will be a line that turns. Just see which line will move into place and connect to the center, and then resolve the mechanic the same as you did the first two times. He will again use Ordeals of Purgation twice in a row.
Adds Phase
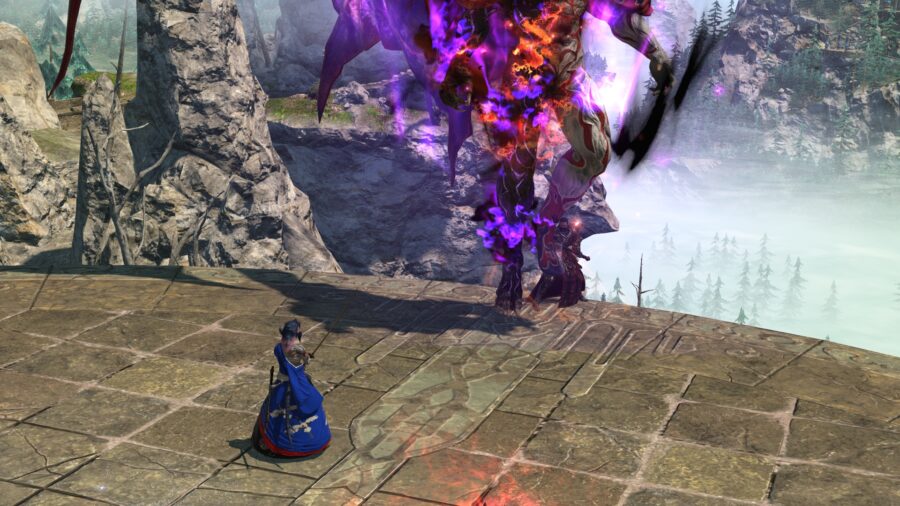
Rubicante will now move to the edge of the arena, and three Flamesent and one Greater Flamesent add will spawn. The Greater Flamesent will repeatedly use an unavoidable attack, which will give players stacks of a burn debuff, dealing damage to players over time. The smaller adds will use Ghastly Flame, a number of small circle AoEs, Ghastly Wind, cones aimed at players, and Shattering Heat, a tankbuster that is the same as before but targets a random tank. Healers will need to heal players through the raidwides and tanks through the buster, while the tanks should group the adds up to allow DPS to use AoE attacks to kill them quickly. It is recommended to focus on the Greater Flamesent first to stop the stacks of burn. During all this a meter will be filling. Once the adds are all dead or the meter completely fills, Rubicante will become targetable again as he uses Blazing Rapture. This is an unavoidable attack which deals more damage the higher the meter is filled. If it’s at 100%, you’ll wipe, but you should be able to kill the ads with plenty of time to spare.
Phase Two – FFXIV Mount Ordeals Trial Guide
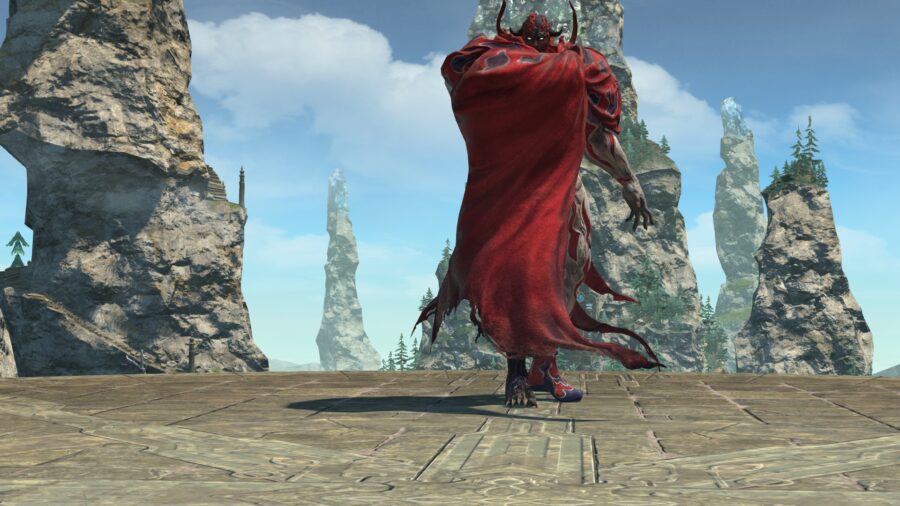
As the second phase begins, there will be a small cutscene as Rubicante changes form with his cloak becoming a demonic wing. Once the cutscene ends, he will cast Inferno. However, in his new form Inferno instead puts circle AoE markers on each player. Just spread out so you aren’t overlapping your AoE with another player. Each player will get a bleed damage over time debuff as well as the damage from the AoEs themselves so healers will need to be prepared to heal through the damage.
He will then use Flamerake. A large symbol with two arrows pointing in opposite directions will appear in the center of the arena. This symbol will then spin. When it stops a line AoE will spawn across the arena in the direction of the arrows. After this AoE goes off, it will then repeat going outward towards the edges of the arena in a wave-like fashion. You will want to position yourself close to the edge of the initial AoE and move into it immediately after the AoE goes off. This will dodge the repeating AoEs.
Next up is Soulscald. Each player will be targeted with a line AoE radiating out from the boss which will follow the player. Spread out to avoid overlap, and make sure to leave space between the AoEs! Because immediately following this blue AoEs will appear where the line AoEs were placed, going all the way across the arena. Son long as you left enough room between the initial AoEs, you should be able to easily move into the safe spots between the blue lines.
After this Rubicante uses Dualfire. This attack is another tankbuster, but with very large cone AoEs. The tanks will need to go on the opposite side as the rest of the party, and spread out enough to not overlap each other. As with the Shattering Heat tankbuster, use defensive cooldowns to survive, and healers will need to heal the tanks while they and the DPS stay in the safe area across from the tanks.
The final new mechanic will be Sweeping Immolation. This will either be a stack marker or spread markers on each player, at the same time as an AoE covers one half of the arena. If it is a stack, the player targets with the stack marker will need to move out of the side of the arena being hit by the AoE, while the rest of the party groups up within the stack. If it’s spread, then each player will have to move out of the AoE and spread out to not overlap.
After this Rubicante will revert back to his normal, cloaked form. He will now begin looping through his mechanics again, until defeated by the party or, in the worst case scenario, he defeats the party. Simply resolve the mechanics just like you did previously in the fight and you should easily deplete Rubicante’s health and clear the fight! You can now finish the current chapter of the Main Scenario Quest, ready for the next patch.
The Extreme difficulty version of the trial can be unlocked in Old Sharlayan, like the previous
EX trials in Endwalker. If you want to go into that version, I recommend watching this video by Hector
Hectorson, as his strategies are the ones that have been widely adopted by Party Finder. Judging by my
experience, his guide should help you clear the EX without difficulty!
