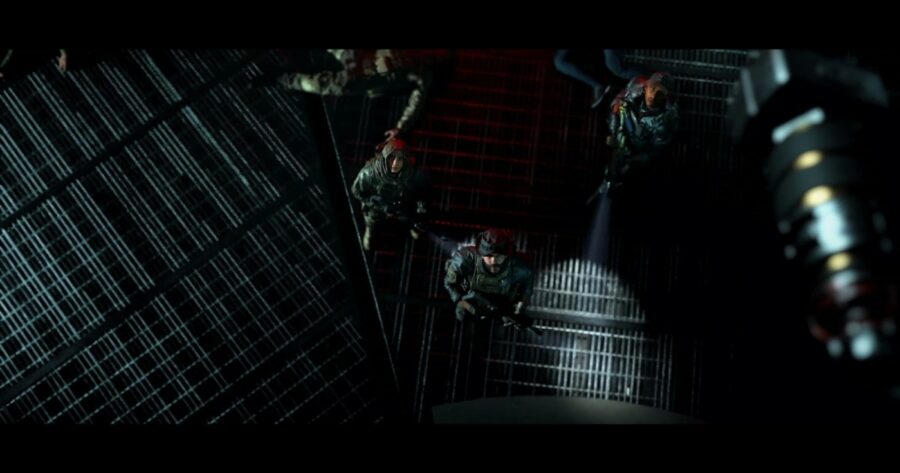
Call of Duty Modern Warfare 2 has released its first-ever Raid, Atomgrad EP. 01. Players will need to work together to complete the objectives, solve puzzles, and survive the onslaught of enemies to finish this Raid. Here is an Atomgrad EP 01 Raid guide to help you complete this raid in COD Modern Warfare 2.
Be sure to check out our general raid guide if you are having difficulty or are unsure of how to start a raid!
Best Team Loadout for the Atomgrad EP 01 Raid
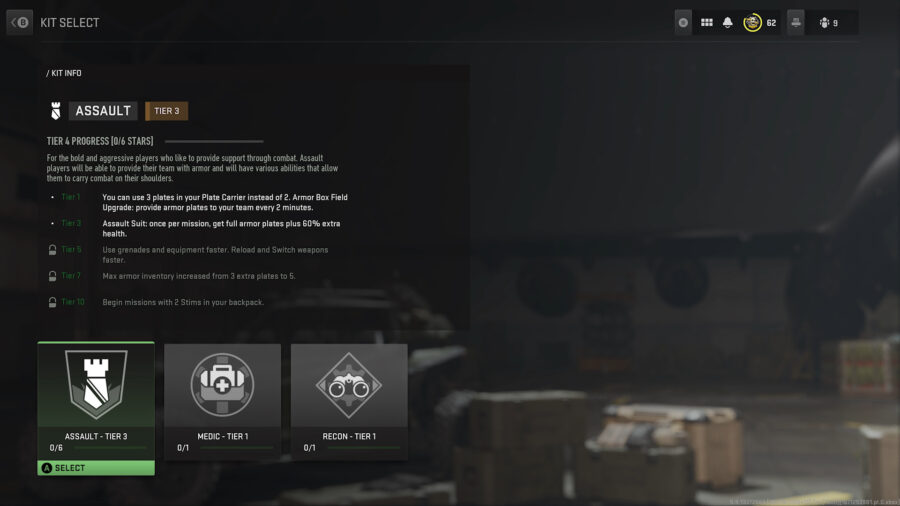
Similar to the Co-Op missions, players will be unable to select a specific loadout to play with; however, players will be able to choose a Kit. By earning stars in Co-Op missions and Raids, these Kits can be upgraded for additional benefits. The best team setup for the Atomgrad EP 01 Raid is to either have all three players running the Assault Kit or have two players run Assault Kits and the third running a Medic Kit.
Obviously, the more upgraded the better; however, for this Raid, we are mostly interested in the Tier 1 Assault Kit, which allows players to drop an Armor Box Field Upgrade every 2 minutes. And the Tier 3 Assault Kit, which allows the use of an Assault Suit once per mission adding an extra 60% health boost to the player.
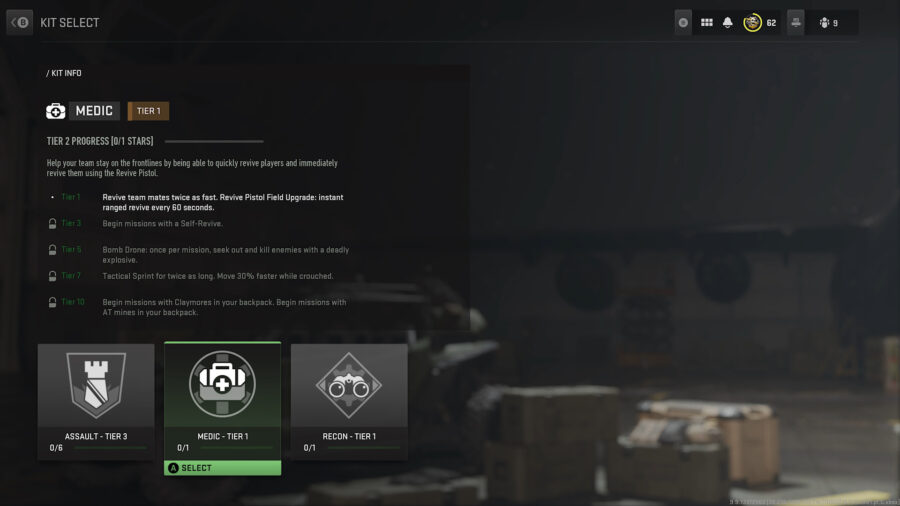
The Tier 1 Medic Kit allows players to revive teammates twice as fast and provides a Revive Pistol for an instant ranged revive every 60 seconds. The Tier 3 Medic Kit allows the player to Self-Revive once per mission. Any upgrades for either Kit after Tier 3 are an added bonus.
CoD MW2 Atomgrad EP. 01: Veteran Difficulty Differences
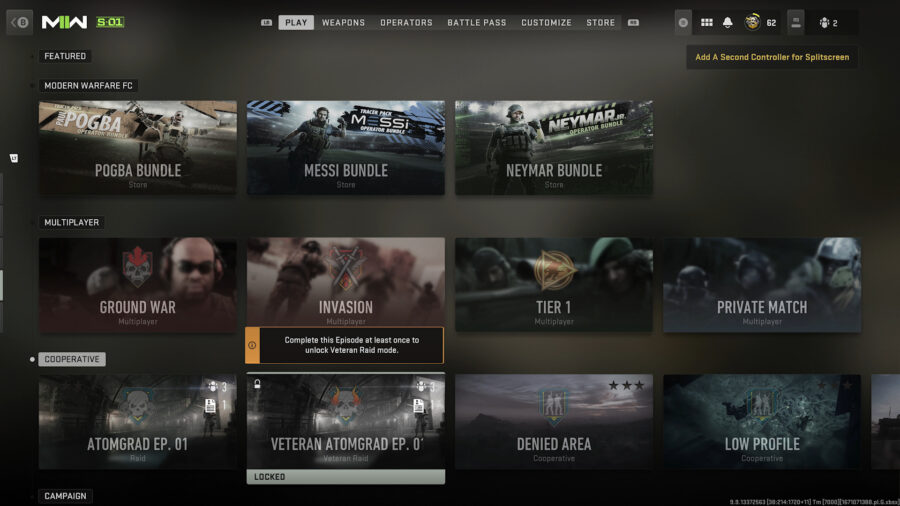
After completing the Atomgrad EP. 01 Raid, players will unlock the Veteran difficulty version. As expected, Veteran difficulty increases the number of enemies and their health significantly throughout the Raid. Additionally, certain timed sections will be altered to increase the difficulty, while other non-timed sections in the Standard Raid, like the Underwater Maze, will have a timer added to them as well. The walkthrough below is based off of the Standard Raid; however, as the objectives remain the same, it should also be helpful for Veteran difficulty!
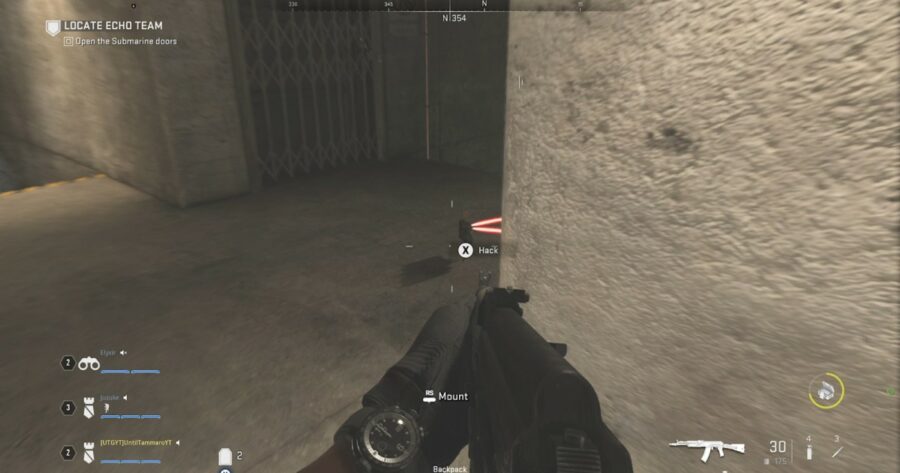
Open the Submarine Doors

After some initial cutscenes, you’ll load into a waterway with walkways to the left and right, as well as some upstairs sections. Your objective is to push forward and open the submarine doors at the end of this waterway. You’ll immediately be confronted by enemies; however, they aren’t aware of your presence yet. It will take a lot of teamwork and coordination to stealthily pick off the enemies in this area, so give it your best try, but be prepared for a fire fight.
Once stuff hits the fan, make your way to the high ground and use it to fight off enemies, while slowly progressing forward. Early on, your teammates will mention that the enemies have set up traps. This whole area, top and bottom, is littered with very well hidden claymores, so keep your eyes peeled.
Next, you’ll need to solve the submarine door puzzle. Check out our submarine door puzzle guide to get past that hurdle and into the rest of Atomgrad EP. 01!
Atomgrad EP 01 Guide: How to Escape the Underwater Maze
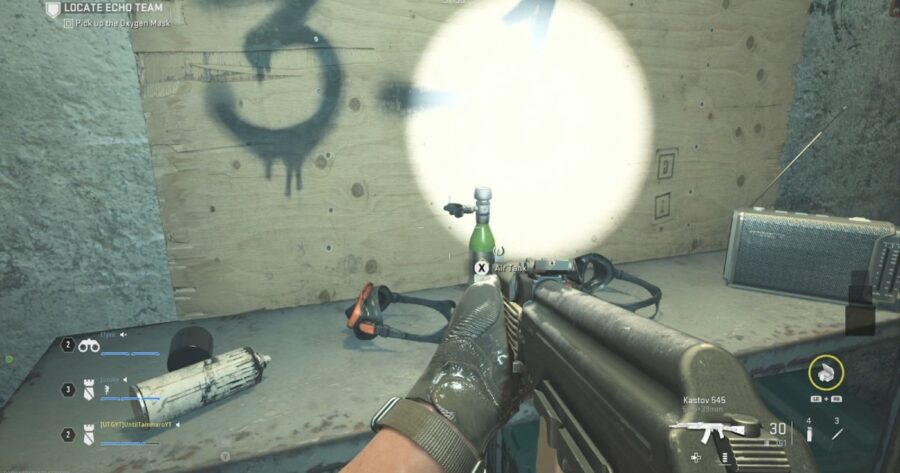
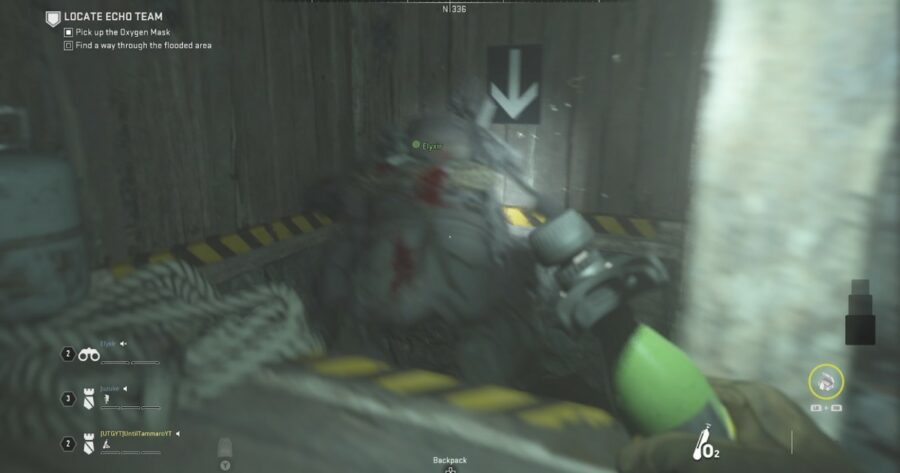
Swim through the submarine doors and before progressing through the opening underwater, make sure you grab the Air Tank on the table to the left of the submarine. This next section is fully underwater and lasts a while, so your team will need to share the Air Tank so no one drowns.
With the Air Tank, jump into the water and swim through the opening to enter the maze. Remember to share the Air Tank, grabbing it from your teammate when needed, and to use it with your primary fire button. This first section is linear and always the same, until you reach a closed gate. One player will need to hold the button to open the gate, while the others progress forward. On the other side of the gate is another button, which one player will hold to open the gate again, allowing the third teammate to come through.
Immediately after this will be a stairway. Before swimming down to continue forward, swim up and out of the water to enter a safe area. This counts as a sort of checkpoint, so if anyone drowns they will respawn here. Keep in mind if anyone drowns, you will need to swim back to them, as they won’t have the Air Tank to make it back to you.

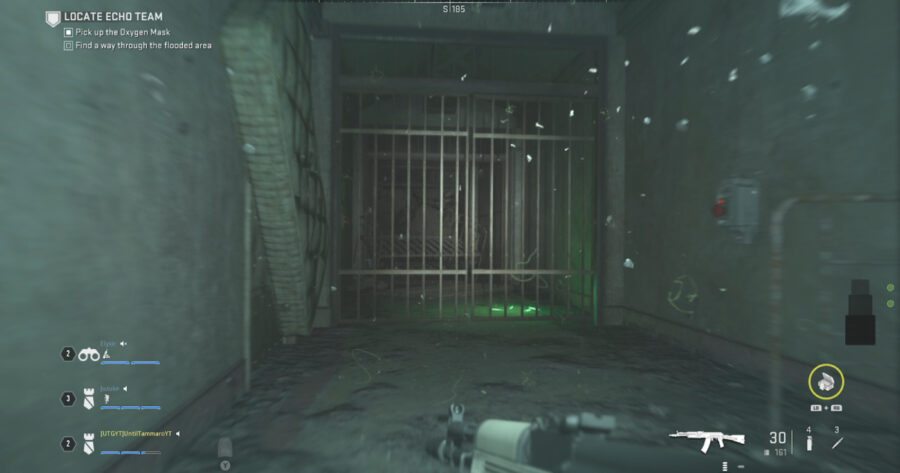
Now, head down and through the gate at the bottom of the stairway. Down this hall will be a set of trip mines, marked by some green glow sticks. You can either swim through them and tank them if you have enough armor, swim through and die since your respawn is right here, or head through the door to the right and swim around them.

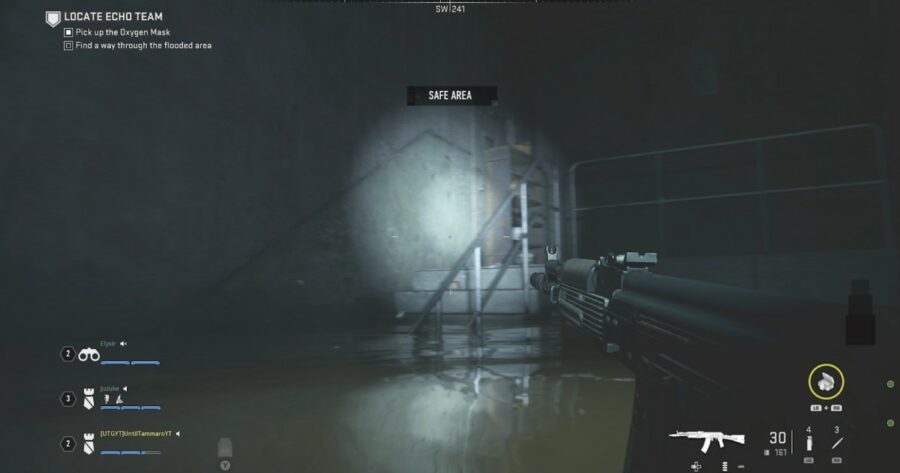
Swim to the right, and this is where the maze truly begins. The layout of the rest of this section will change slightly between each playthrough; however, there will always be an additional safe area and the exit will always look the same. The safe area is an elevator shaft, as shown in the above image, just swim to the top to set your new checkpoint.
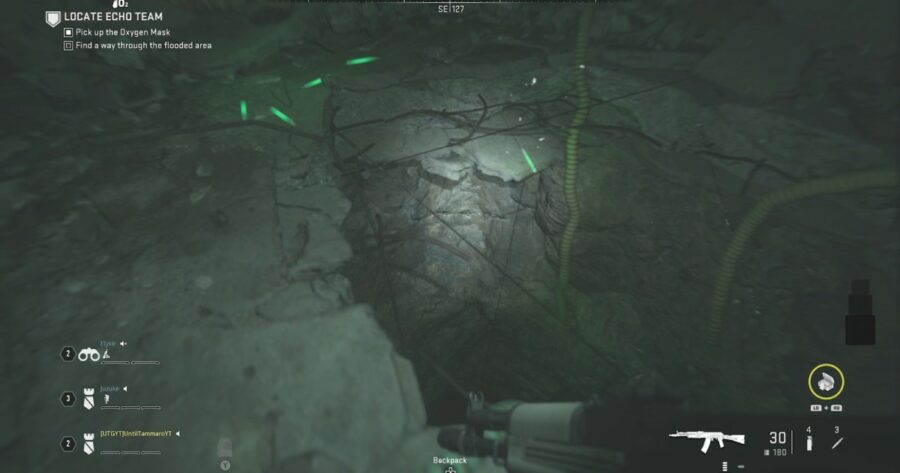
The exit will be a hole in the ground, marked with green glow sticks and covered with more explosives. You’ll want to swim through and either tank the damage or die and respawn then return to the hole to progress forward.

The path from here is linear again, so swim forward until you exit the water. You’ll enter into a mine shaft, which is marked as another safe area. Keep moving forward and jump back into the water at the end of this mine shaft.
In this next underwater section, you want to swim deeper underwater. To do so, follow the arrows on the walls to make your way deeper into the mine.

Eventually, your team will resurface in a mostly flooded room with a generator and wires that continue along the ground underwater. There is a submerged door and a button at both ends of the wires. One player will need to turn on the generator, which will activate for a short duration. Another player needs to hold the button to open the door allowing their teammates through. The players who go through will need to fight some enemies on the other side before opening the door to let the last player through. Most likely, the generator will turn off, meaning the player that was left behind will need to activate the generator again, while their teammate holds open the door and they swim through.
Atomgrad EP 01 Guide: Clear The Armory
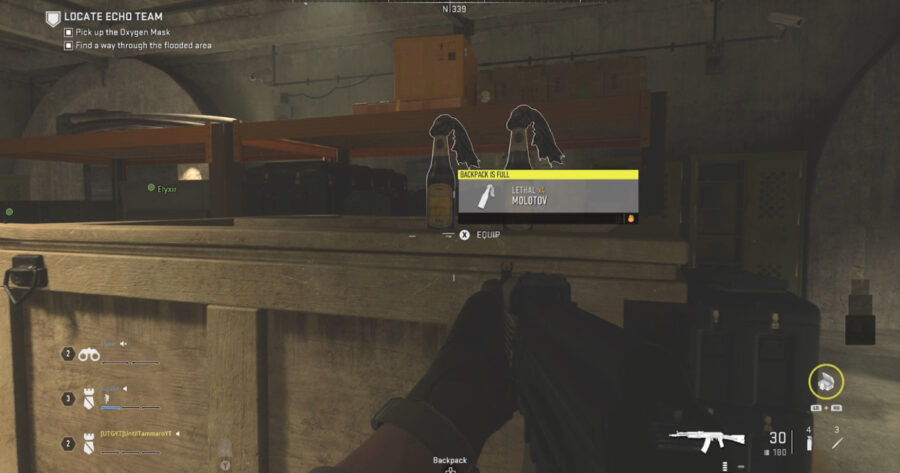
Continue forward and out of the water into an armory. Stock up on ammo and lethals, and swap out your weapons, as the next section is full of enemies, including some juggernauts. Once ready, exit the armory through the other side and begin fighting the enemies.
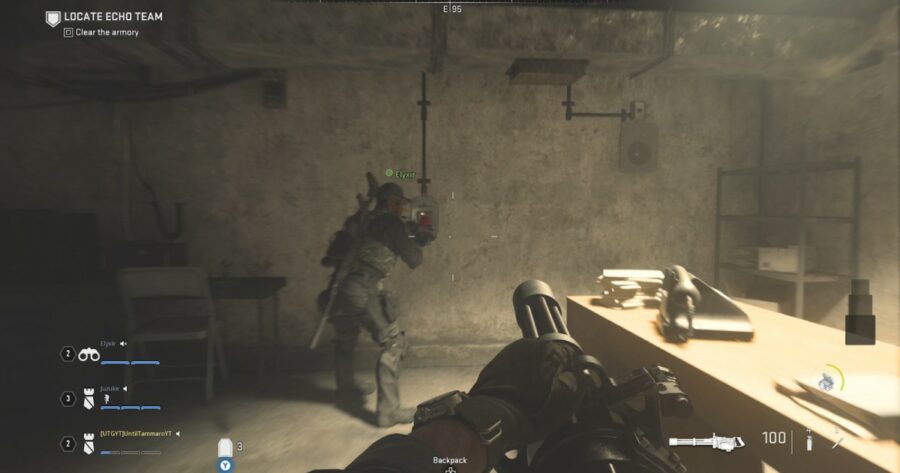
Progress forward slowly, as to not trigger both juggernauts at once. As you make it around the first corner, a juggernaut will emerge from the second door on the right. Pepper him with everything you got and make sure to grab his minigun. Inside this room is a button. When you’re ready, press it and watch the last door on the left. More enemies will enter, including another juggernaut. Mow through them all with the minigun.

Inside the final room on the left is a Riot Shield. We recommended everyone pick one up to protect their backs for the final section of the Raid.

Backtrack to the first room on the left and jump into the hole. Crawl forward through the vents until you drop down into the flooded tunnels. This is the final section of the Atomgrad EP. 01 Raid.
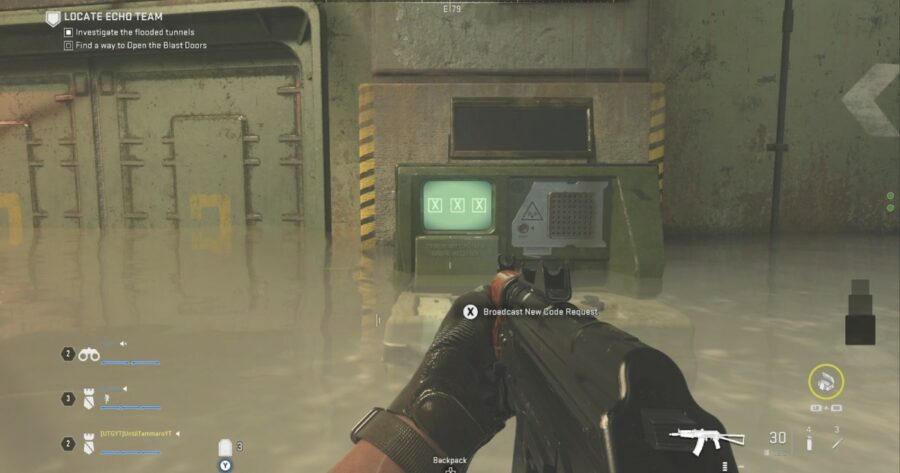
Atomgrad EP 01 Raid Guide: How to Open The Blast Doors

Progress toward the center circular tunnel slowly, as enemies, juggernauts, and bomb drones patrol these areas. In the center circle, you will find another code sequence machine and another red screen with Russian characters near a blast door. You will have to do the same type of puzzle from the submarine doors; however, this time you will be timed. But, let’s come back to this shortly as you will first need to activate two terminals to begin the cypher sequence.

Continue to the right of the machines and climb up the boxes through the first opening on the right. Fight through the enemies here and clear the first large room directly in front of you.

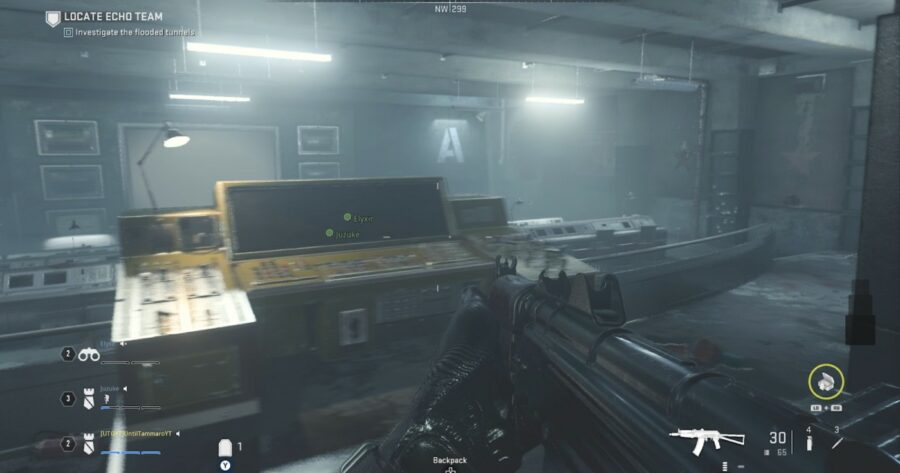
In this large room is a yellow terminal, activate it for the first part of the sequence. Before searching for the next terminal, make sure someone grabs the Sentry Gun next to this terminal. You’ll want to use this for the final stand later on.
From this terminal, turn left and move into the next flooded tunnel. At the end of this tunnel, turn right and enter the next large room. There will be plenty of enemies to clear out here, including another juggernaut. Once the room is clear, head to the back of the room and activate the second terminal for the sequence.
How to Solve the Blast Doors Puzzle
One player should return to the code sequence and Russian characters machines at the blast door, while the others set up at the two terminals you just activated. The player at the Russian characters machine will activate the machine, starting the puzzle. Similar to the Submarine Doors Puzzle, the player at the characters will read them out, while the other two players match the numbers at the yellow terminals. Then, the player at the characters machine should move over to the code sequence machine and enter the numbers. Again, the player’s finger print will be added to the database, meaning everyone will need to switch positions and repeat this two more times.

There are two main differences to the Submarine Door Puzzle: each sequence will be timed and after the first code is entered enemies will begin attacking. This means that players will need to fight back enemies, while completing the puzzle under a time limit. If the time expires, a new code will be created. If a team fails to enter the correct code three times in a row, either by running out of time or incorrectly inputting the code, the entire sequence will reset. So, if you have already entered two correct codes and mess up three times on the final sequence, your entire progress will be reset.
Survive! (Atomgrad EP 01 Modern Warfare 2 Raid Guide)
Once the final sequence has been entered, all players should regroup at the blast doors. You will need to survive the 4 minute timer, while the blast doors open. Enemies will pour in from every direction, including bomb drones and juggernauts. The player with the Sentry Gun should set it up on the boxes to the right or the left and hope that the juggernauts come from that direction. The basic enemies are simple enough to deal with; however, everyone will need to focus on the juggernauts. Your riot shields should keep you protected from enemies closing in behind you. Also, the bomb drones are deadly, so look out for their red/yellow lights and take them out quickly as their explosions can easily wipe your entire squad. Don’t forget to pick up ammo and enemy weapons whenever there is a short respite from the waves.
Keep in mind, you can move away from the blast doors if needed; however, enemies will plant a bomb on the machines to stop the progress. You will need to defuse the bomb. If the bomb goes off, you will automatically fail.
Once the timer ends, enemies will stop spawning; however, you will need to clear the area. After defeating everyone, all members of your team need to interact with the blast door to finish the Raid. You will watch a couple more cutscenes, setting up the Atomgrad EP. 02 Raid, and receive one of seven random rewards for your success.

