
Orochium Shrine is a shrine located near the Tabantha Tundra in The Legend of Zelda: TOTK, and you can solve it easily with our guide! This shrine is a bit of a lengthy one, but our guide can help you through the long haul. Here’s what you need to know to solve “Courage to Fall,” the puzzle of Orochium Shrine in Tears of the Kingdom.
How to Open the Chest in Orochium Shrine: Zelda TOTK Guide
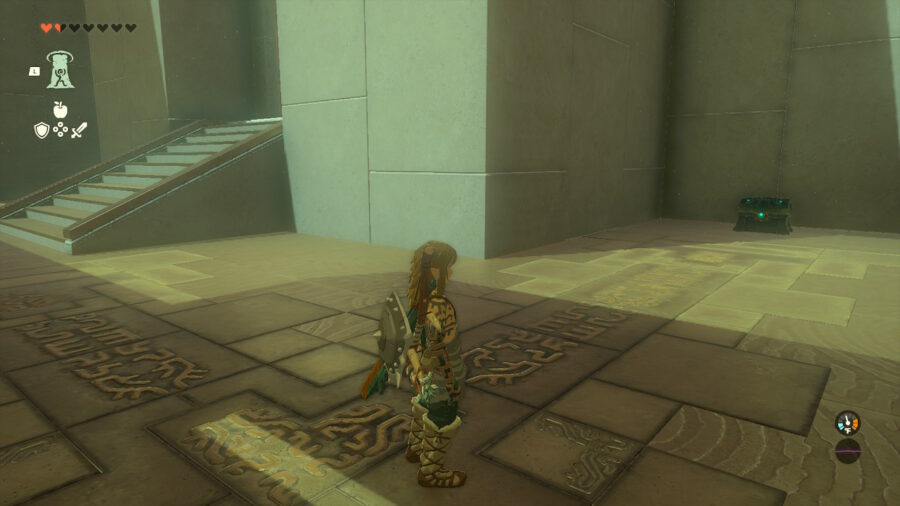
When you walk in, you’ll see your obvious win condition to your right: a slot for a ball to go into, and a gate that will open once you do so. You’ll also see a large set of doors in front of you. Open the large doors, but don’t try to go through the lasers. Getting the doors open now will be key for the end of the puzzle. Then, head to the left to begin your journey proper in Orochium Shrine. Fight past the Construct, then use Ascend when you’re at an impasse with the wall in front of you.
This ascension will put you on a platform with a ladder. Climb the ladder, then crouch and move through the small gap to your right. Use your paraglider to float downwards, and fight off two more Constructs that put up a fight. Run past the stairs and around the corner to come across this the Orochium Shrine chest, and open it up to add 5 arrows to your quiver.
The Legend of Zelda TOTK: Courage to Fall Solution
Head back up those stairs and you’ll be faced with a room of lasers that will activate a trapdoor if you make contact, which will be familiar to players who have already faced Sahirow Shrine in Tears of the Kingdom. This may sound a bit weird, but you’re going to want to intentionally fall through the first trapdoor, hence the puzzle name “Courage to Fall.”

After this fall, you’ll be faced with a new gauntlet of lasers and trapdoors, but this time with a chest at the end containing a Small Key. To get up to this chest, go to the end of this path and use Ascend under the platform with the chest on it to rise through it.
Once you’ve opened the chest and claimed your key, use Ascend again to rise to the next area. Face off against two more Constructs, then go forward where you should see the ball in a cage. Here you’ll see the door requiring the Small Key you collected earlier. Open the door and use Ultrahand to free this poor ball from its prison.

Head back up the stairs to where you just ascended from, where you should see a moving vertical platform on either side of you. Ride this platform to the top and you’ll see a slot to put your ball into. Put the ball in this slot to unlock a glider. Attach the ball to this glider so you can bring it back to the entrance with you. Then, place the glider on its track, activate the fans, and fly right over those pesky lasers and through the doors you opened at the beginning of the shrine. Place the ball in its slot and claim your reward!
That’s it for our Orochium Shrine guide! Check out our Zelda: TOTK guide to Mayaumekis Shrine to complete another shrine up in the northwest of the surface.


