There’s no denying that anyone picking up the brand-new Resident Evil 4 remake is looking for some classic survival horror vibes and new features, including a photo mode. And while the game is partially aimed at bringing a beloved entry in the franchise to a new era of fans, those who grew up with the original are in for a nostalgic treat unlike anything Capcom’s remakes have achieved thus far.
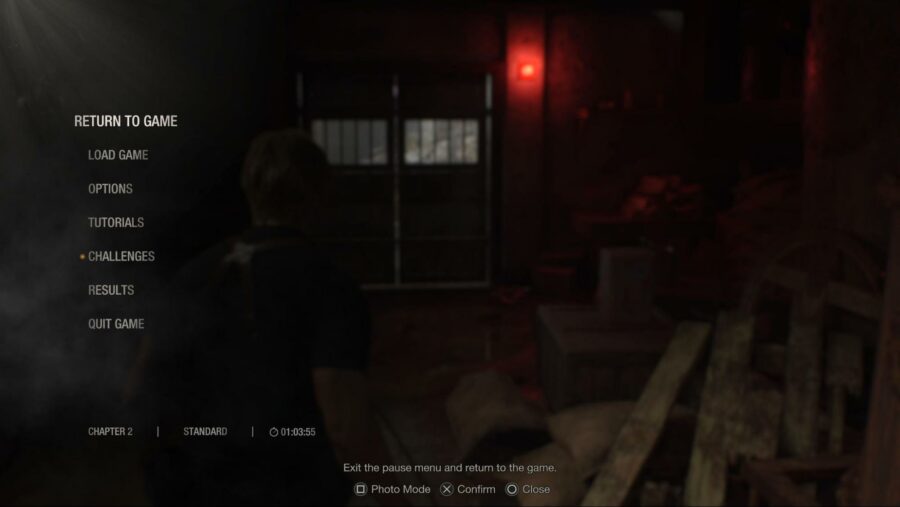
All of that being said, there are new memories to make in this updated version of the game, which is why you may want to snap a few screenshots of your time in its creepy Spanish village. If you’re confused as to how to access the photo mode, though, don’t feel bad – it’s easy to miss. Here’s how to use it.
How to use Photo Mode in Resident Evil 4

To access Resident Evil 4‘s photo mode, simply pause the game and look down at the bottom of the screen to see a prompt for it. While that sounds easy enough, it’s rather easily overlooked for those used to being able to engage with photo modes by pressing a certain button mid-action. Either way, once you press the corresponding button, you’ll be free to start playing around with quite a lot of options.
Resident Evil 4 comes packing a pretty standard but well-implemented photo mode. You have the ability rotate the camera freely, zoom in and out, and adjust the height to line up slick shots. Of course, you can also adjust the brightness and contrast, apply effects, and even remove main character Leon or certain enemies from the shot if you’d like. With so many features at your disposal, there’s no shortage of fun to be had when you’re ready to try your hand at photography in Resident Evil 4.
Want a palate cleanser after a night in a creepy village? Check out our take on a game with totally different vibes but the same release window, Atelier Ryza 3.


